

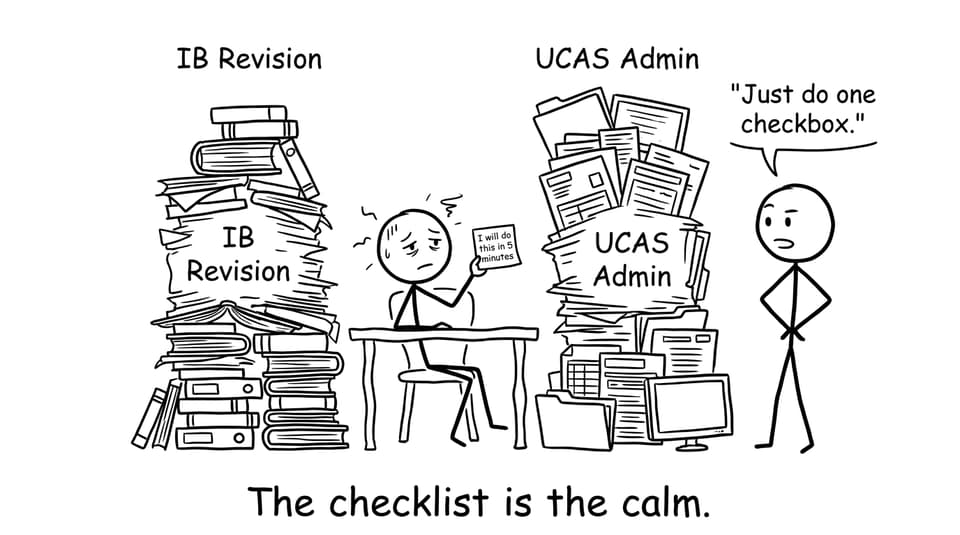
If you are an IB student deep in revision, UCAS admin can feel like a second set of exams. You finally secure a place through Clearing, you exhale, and then your inbox starts talking in deadlines: enrolment portals, ID uploads, finance forms, accommodation deposits.
This is the part where small delays turn into big stress. So here is a calm, practical UCAS checklist for the days after you accept your offer -- written for people who still have IB papers on the horizon.
UCAS quick checklist (save this)
-
Confirm your place in UCAS Hub and screenshot proof.
-
Complete university enrolment steps (accounts, documents, registration).
-
Apply for student finance or update your existing application.
-
Secure accommodation (halls first, then private options).
-
Plan travel, arrival time, and what you actually need to pack.
-
Register for welcome week and check any induction tasks.
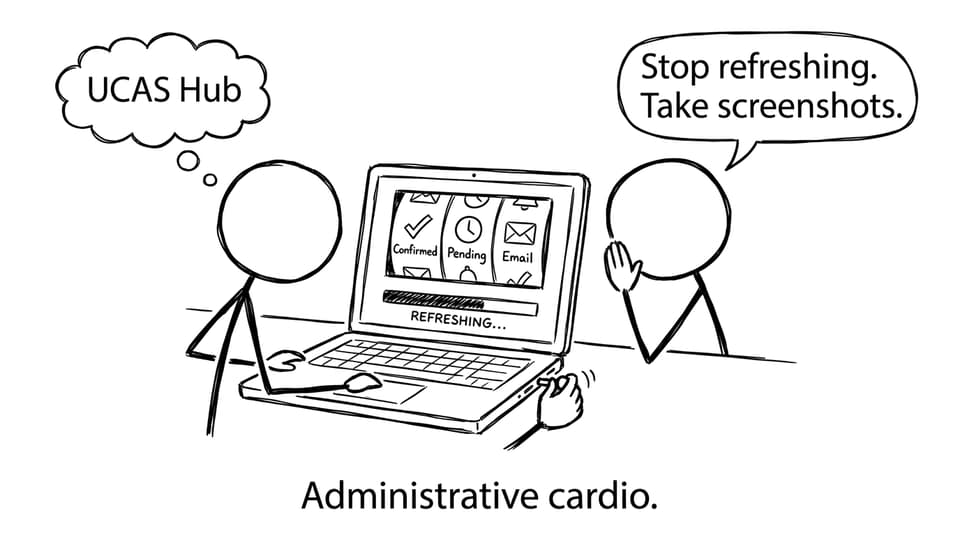
Confirm your place in UCAS Hub (and capture evidence)
First, check How to Use UCAS Hub Effectively so you know exactly where updates appear and what to look for. Once your Clearing choice is confirmed, do two things immediately:
-
Read the confirmation details slowly (course title, start date, any conditions).
-
Take screenshots and store them in one folder named “UCAS”.
It sounds overly cautious. But when you are tired from IB revision, screenshots become your memory.
Complete enrolment steps fast (deadlines are not flexible)
Universities usually email a short chain of tasks: online registration, setting up a student account, uploading ID, maybe submitting a photo for your student card. Treat this like an IB internal deadline: early is calm, late is chaos.
If you want a quick reminder of common application slip-ups that still matter post-offer (wrong details, missed emails, rushed forms), skim Mistakes Students Make During UCAS Applications.
Student finance: apply now, not “when exams are done”
If you have not applied, submit your student finance application immediately. If you already applied, update the course and university details as soon as your UCAS place is confirmed.
This is where many IB students get caught: you assume one late form will not matter, then the processing time stacks up. The result is not disaster, it is just annoying -- delayed payments and extra budgeting pressure right when you are trying to settle.
Accommodation: move from “hope” to “options”
Accommodation after UCAS Clearing is often a speed game. Start with university-managed halls, because they remove friction (support, maintenance, proximity, built-in community). If halls are limited, widen the net.
Use these two guides as your fast decision framework:
Your goal is not perfection. Your goal is a safe, practical base where you can sleep, eat, and think.
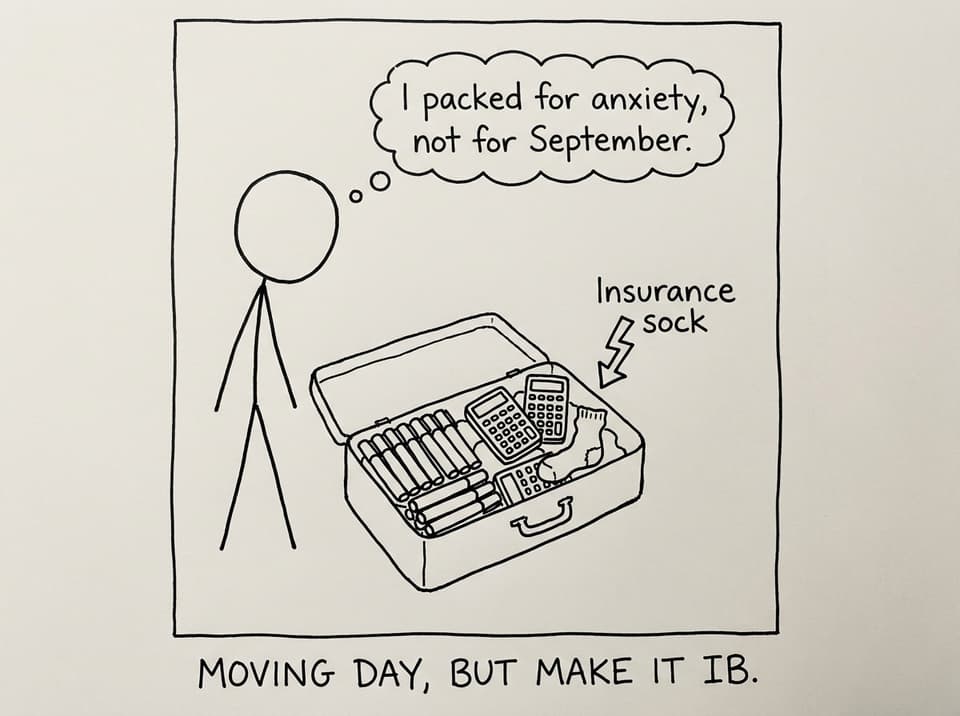
Travel, moving, and welcome week (the boring stuff that saves you)
Book travel earlier than you think, especially if you are moving in peak season. Confirm your move-in slot with your accommodation provider. Then plan a simple first-week setup.
This checklist helps you avoid the classic “I forgot the one thing I need” situation: Checklist for Moving to University in September.
How to balance UCAS tasks with IB revision
You do not need a perfect system. You need a small routine.
-
Do one UCAS task per day (15--30 minutes), then return to IB.
-
Keep one admin document listing logins, deadlines, and what you have submitted.
-
Use RevisionDojo to keep your exam momentum: Questionbank for targeted practice, Study Notes for quick clarity, Flashcards for daily recall, AI Chat when you are stuck, and Grading tools to tighten your exam technique. If you are running full exam simulations, add Mock Exams and Predicted Papers, and keep coursework organised with the Coursework Library and Tutors.
If you need an IB-focused routine that fits around university admin, use 10 Proven Study Techniques for IB Students and The Ultimate Guide to Revision for IB Students.
Final reminder: UCAS is admin, not your identity
Getting through UCAS Clearing is a win. Finishing the next steps is how you protect that win.
Confirm your place, enrol early, handle finance, secure accommodation, and keep your IB revision steady. And when you need a single platform to reduce decision fatigue, RevisionDojo is built for it: Questionbank, Study Notes, Flashcards, AI Chat, Grading tools, Predicted Papers, Mock Exams, Coursework Library, and Tutors -- so you can keep moving forward even when UCAS admin gets loud.