

A calm room can rescue a noisy mind
Two hours before setup, everything feels louder than it should: masking tape ripping, frames wobbling, someone asking where the Blu Tack went. In IB Visual Arts, that last-minute chaos can swallow the very thing you want examiners to notice: your ideas.
Your exhibition space isn’t “extra.” It’s the stage that helps your work read as intentional. When the space is clear, your theme feels clearer. When the space is messy, even strong pieces start to look uncertain.
This guide breaks down how to prepare an IB Visual Arts exhibition space so it looks professional, coherent, and easy to navigate for a moderator.
Quick checklist (use this the day before)
-
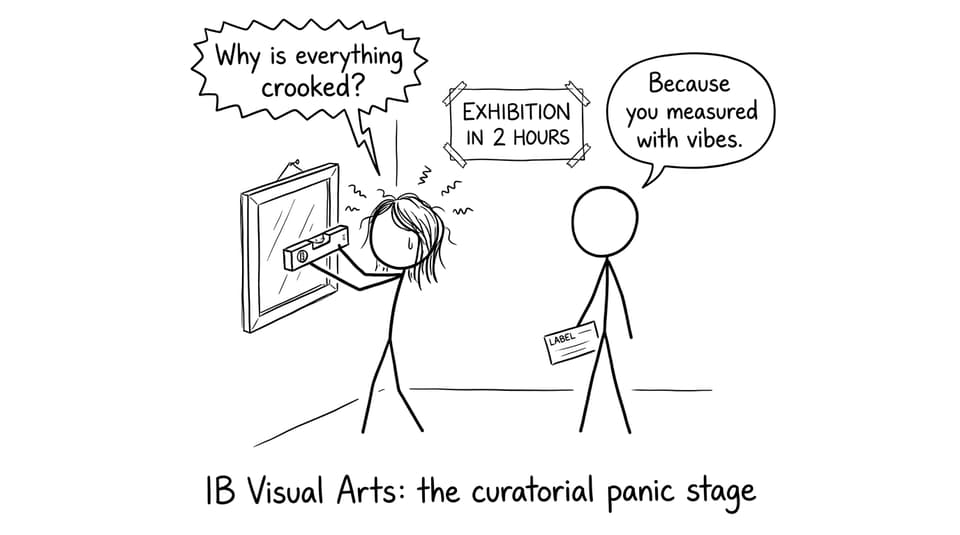
Measure wall width, height, and walkways
-
Map a simple viewing flow (left to right, or clockwise)
-
Check light sources and glare points
-
Print consistent labels (title, medium, size, year)
-
Do a full test run and photograph it
If you’re still unsure what the exhibition is assessed for, skim The Exhibition in IB Visual Arts: What You Need to Know and keep those criteria in mind while you plan.
Understand your exhibition space before you “design” it
In IB Visual Arts, students often plan the perfect layout in their head, then meet reality: a pillar in the middle, a window that blasts afternoon light, or a rule against nails.
Start with constraints:
-
Measure usable wall space (not just total wall space)
-
Note restrictions (adhesives, hanging limits, shared corridors)
-
Identify where people will naturally enter and pause
This is also where coherence begins. If your theme needs a slow buildup, a cramped entrance might force you to simplify the opening sequence. If you want a strong “final piece,” you may need to reserve the cleanest wall for it.
For a bigger picture of how the course fits together, What is IB Visual Arts? is a quick refresher.
Plan a layout that tells one story
A strong IB Visual Arts exhibition layout is basically a quiet conversation: one work leads to the next without the viewer having to guess why.
Choose one organizing principle:
-
Thematic flow (best for clear curatorial rationale)
-
Chronological growth (best if development is your narrative)
-
Media zones (best if materials are part of the message)
Then make it readable:
-
Give large pieces room to breathe
-
Group smaller works in intentional clusters
-
Place 3D work where viewers can circle it safely
If you’re deciding how many works to show, use How Many Artworks Do You Need for the IB Visual Arts Exhibition? so your selection matches SL/HL requirements.
Lighting: make your work “honest”
Lighting isn’t about drama. It’s about accuracy.
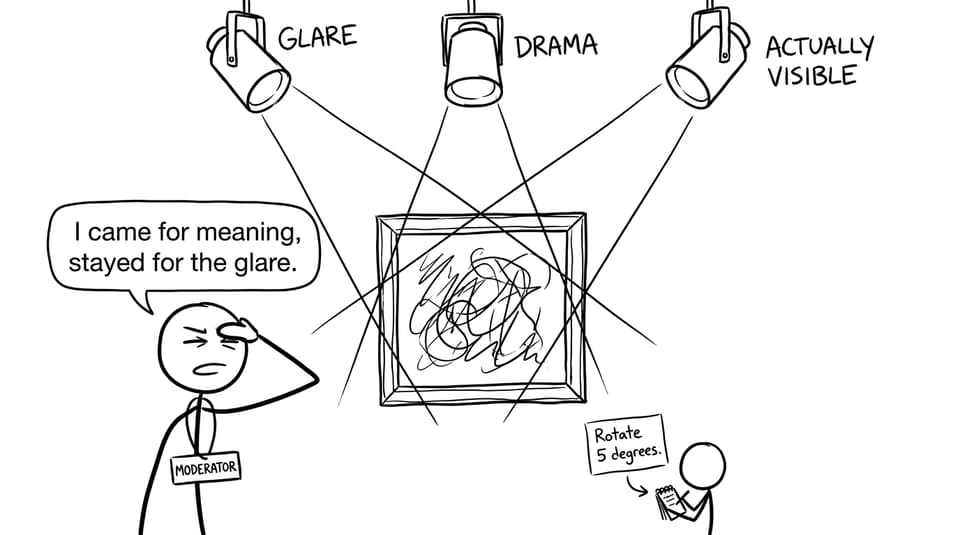
In IB Visual Arts, glare can flatten pencil textures, distort colours, and make a polished surface look like a mirror. Do a slow walk through the room at different angles and times of day.
Practical fixes:
-
Tilt framed works slightly to reduce reflections
-
Avoid placing glossy work directly opposite windows
-
Keep lighting consistent across the space unless contrast is intentional
RevisionDojo’s guidance on setup expectations aligns well with this; see IB Visual Arts Exhibition Setup Tips for High Marks.
Labels and text: the quiet professionalism marker
Examiners won’t “award points” for nice labels, but messy labels can quietly drain confidence in your presentation.
Aim for:
-
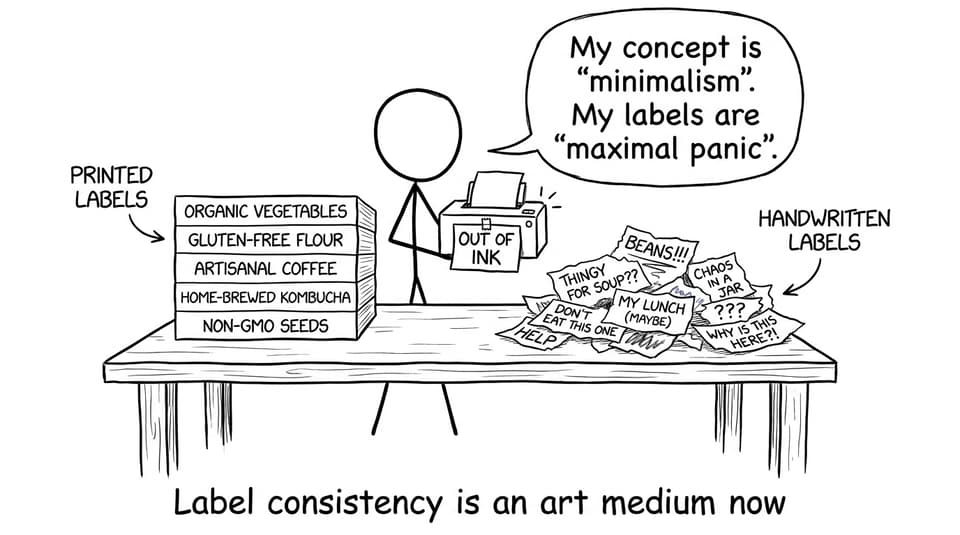
Consistent font, size, and placement
-
Clean details: title, medium, dimensions, year
-
Placement that doesn’t compete with the artwork
Most importantly, make sure the labels support your curatorial rationale. If your rationale claims careful sequencing, your labels and spacing should make that sequencing obvious.
If you want to pressure-test common slip-ups, Common Exhibition Mistakes That Cost IB Visual Arts Students Marks is worth a quick read.
Do a test run (and treat photos like feedback)
A rehearsal is where you catch the invisible problems: awkward gaps, a cluster that feels unrelated, a sculpture that blocks the path.
Do one full mock setup, then:
-
Photograph each wall straight-on
-
Photograph from the entrance (first impression matters)
-
Photograph from a few “examiner height” angles
Then revise like you would revise a studio piece: subtract what weakens the whole.
To connect your exhibition decisions back to overall scoring, keep IB Visual Arts Assessment Criteria Explained Simply open while you refine.
Closing: curate the room like you curated the work
Your IB Visual Arts exhibition space is a final edit. It’s where you stop adding and start choosing.
If you want to feel more in control, build a simple support system: use RevisionDojo’s Study Notes and Flashcards to stay clear on criteria language, lean on AI Chat to refine your curatorial rationale, and use the Grading tools to check whether your writing and presentation choices match the rubric. When you’re ready to go broader, explore the Coursework Library for examples and, if you need extra guidance, connect with Tutors.
Make the room calm. Make the story obvious. Let your IB Visual Arts work do the talking.