


If you’ve ever watched a design idea fall apart the moment you touch real materials, you already understand the heart of IB Design Technology.
In DT, the distance between “I think this will work” and “it works” is crossed with modeling and prototyping. Not as decoration. Not as a last-minute showpiece. But as a quiet, repeatable way of proving decisions with evidence. And because the IB Design Technology course (first exams in 2027) rewards process, these skills show up everywhere: your IA, Paper questions, and any response where you have to justify choices.
For a structured home base, keep RevisionDojo’s IB Design Technology hub open while you revise.
Quick checklist (use this before you build anything)
-
Modeling = representing an idea so you can communicate or test it.
-
Prototyping = building a version so you can test performance and iterate.
-
Every model/prototype should answer one question: What did we test, and what changed?
-
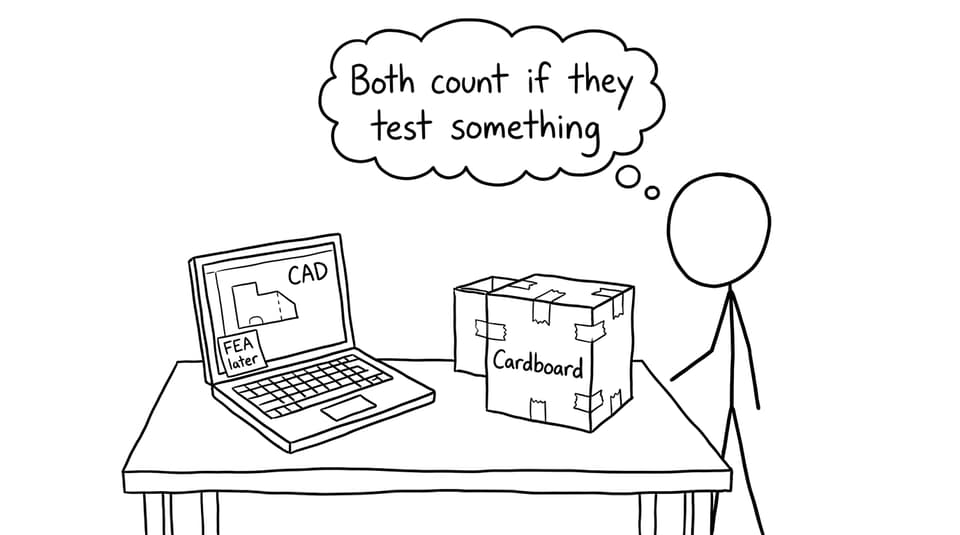
Use mixed methods: sketch + CAD + physical mock-up.
-
Practice the language of exam answers with the B2.2 Modelling and Prototyping questionbank.
Modeling in IB Design Technology: the “thinking tool”
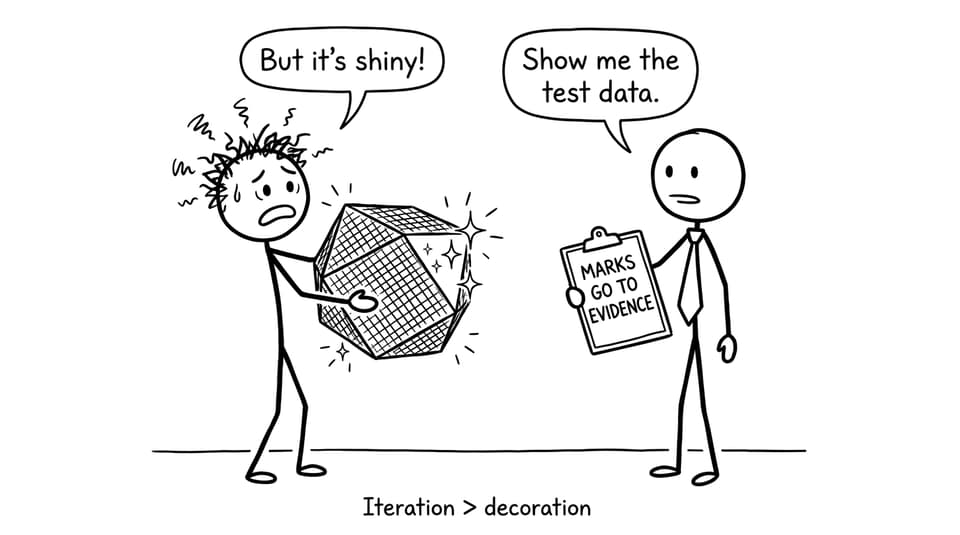
In IB Design Technology, modeling is any representation of your design that helps you explore, explain, or evaluate an idea before final production. The key word is purpose. A model that looks impressive but proves nothing is just a picture.
Common modeling types you can mention in exams and use in your IA:
-
Graphical models: quick sketches, orthographic drawings, exploded views.
-
Physical models: foam/cardboard mock-ups, scale models for ergonomics.
-
Virtual models: CAD, animations, simulations, and analysis tools like FEA.
If you want syllabus-aligned wording (and clean examples), RevisionDojo’s B2.2 Modelling and prototyping notes and B2.2 lessons are the fastest way to make your definitions exam-ready.
Prototyping in IB Design Technology: the “proof tool”
Prototyping in IB Design Technology is where your assumptions meet reality. A prototype is a working (or partially working) version built to test something: function, user comfort, stability, durability, manufacturability, or safety.
Useful categories to remember:
-
Low-fidelity prototypes: fast, cheap, made to fail early.
-
High-fidelity prototypes: closer to final, used to validate performance.
-
Functional prototypes: built to test how it works, not just how it looks.
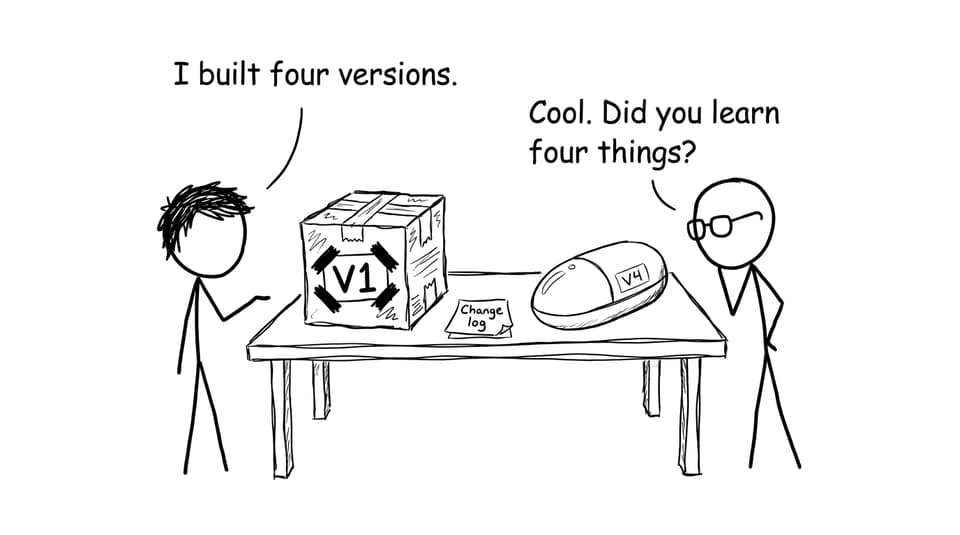
If you’re unsure how many versions you “should” build, the mindset matters more than a number: iteration earns marks when it is documented. This article helps: How many prototypes should you include in IB Design Technology?.
Why modeling and prototyping score marks (and save time)
Here’s the quiet advantage: modeling and prototyping reduce “redo time.” They make mistakes smaller.
In IB Design Technology, they also help you write stronger exam answers because you can explain:
-
Creativity with constraints: ideas are explored, then narrowed by evidence.
-
Risk reduction: safety, cost, and failure points are discovered early.
-
User-centered improvement: feedback becomes measurable design changes.
-
Design Cycle alignment: models support developing ideas; prototypes support creating solutions and evaluation.
To tie this into the bigger course structure, use The Complete Guide to IB Design Technology as a map.
How modeling and prototyping show up in exams and the IA
In the IB Design Technology IA, modeling and prototyping are evidence of thinking, not just making. Examiners look for clear links between:
-
A design requirement (what success means)
-
A test (how you measured it)
-
A change (what you improved)
If you want examples of what “top projects” tend to include, read IB Design Technology IA examples: what top projects look like. If you want the marking logic, keep How is the IB Design Technology IA graded? nearby while you draft.
For Paper responses, the same habit works: define the model/prototype, state an advantage/limitation, then anchor it to a context (time, cost, accuracy, sustainability, user needs).
A simple strategy: one prototype, one question, one dataset
When students struggle in IB Design Technology, it’s often because prototypes are built without a test plan.
Try this structure (great for IA documentation and exam language):
-
Question: “Does the handle reduce wrist strain?”
-
Method: short user test, rating scale, time-to-complete task.
-
Result: table/graph + a sentence of interpretation.
-
Change: specific design edit (dimension, material, mechanism).
-
Retest: confirm improvement.
To tighten your practice loop, use RevisionDojo’s Questionbank for B2.2, then lock the definitions with Flashcards, and fill gaps with AI Chat when you get stuck mid-explanation. If you’re preparing under timed conditions, combine targeted drills with Mock Exams and Predicted Papers.
For broader topic coverage and connected revision, browse the full IB Design Technology resources and the focused B2.2 Modelling and prototyping topic page.
Conclusion: make your work testable, and marks follow
Modeling and prototyping are the bridge between imagination and proof. In IB Design Technology, they turn “I think” into “I tested,” which is the language both examiners and real designers trust.
If you want a single place to learn the content, practice exam-style questions, revise with Study Notes and Flashcards, get unstuck with AI Chat, and pressure-test with Mock Exams and Predicted Papers, start here: RevisionDojo’s IB Design Technology hub.