

Titrations feel calm right up until they don’t.
One moment you’re swirling like a professional, the next you’ve added “one confident drop” and your endpoint flashes past like a train you can’t catch. That tiny mistake is why titration matters so much in IB Chemistry: it’s simple in theory, unforgiving in practice, and it shows up everywhere from core stoichiometry to acids and bases.
This guide explains titration step-by-step in a way that matches how IB Chemistry questions are marked: clean technique, clear definitions, and reliable calculations.
Titration in IB Chemistry: the quick checklist
Before you start (in the lab or on paper), run this fast checklist:
-
Do I know which solution is titrant (in the burette) and which is analyte (in the flask)?
-
Do I have a balanced equation and the mole ratio?
-
Am I being asked about endpoint (indicator color) or equivalence point (stoichiometric match)?
-
Have I recorded burette readings to 2 d.p. and looked for concordant titres?
If you want a second explanation of the key definitions, keep Equivalence Point in Titrations Explained open while you practice.
What titration actually is (and what it is not)
A titration is a quantitative method used to find an unknown concentration by reacting it with a solution of known concentration. In IB Chemistry, that usually means acid-base neutralization, but the logic is always the same: measure volumes precisely, then use stoichiometry to connect volume to moles.
Two terms you must separate in IB Chemistry:
-
Equivalence point: the exact stoichiometric point predicted by the balanced equation.
-
Endpoint: the observed point where the indicator changes color (your experimental signal).
Indicators aren’t “magic”; they’re equilibria that shift with pH. If that idea still feels fuzzy, How Acid-Base Indicators Work is worth ten minutes.
Equipment and why examiners care
Typical titration setup:
-
Burette (delivers titrant with high precision)
-
Pipette + filler (fixed analyte volume, low uncertainty)
-
Conical flask (safe swirling)
-
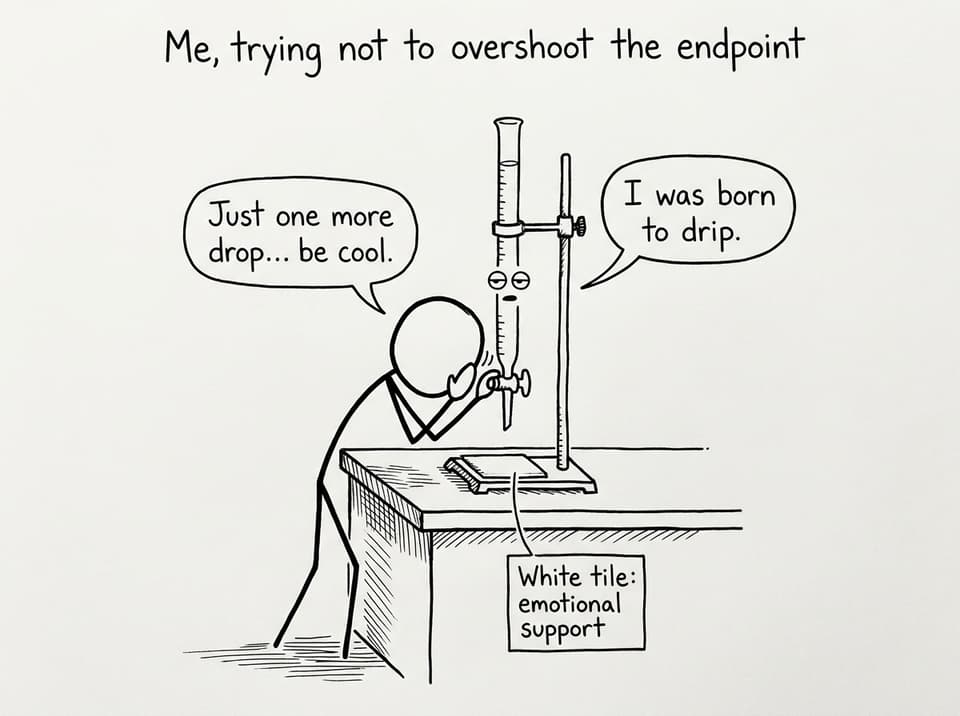
White tile (spot subtle color change)
-
Indicator or pH probe
In IB Chemistry practical write-ups (and many data questions), marks come from stating how each choice reduces uncertainty: pipettes are more precise than measuring cylinders, removing bubbles prevents false volume readings, and rinsing avoids dilution.
Titration explained step-by-step (lab method)
Prepare the glassware
-
Rinse the burette with distilled water, then rinse with a small volume of titrant.
-
Rinse the pipette with the analyte solution.
-
Check the burette tip for air bubbles (run a little titrant through if needed).
This is the quiet part of IB Chemistry that saves your entire dataset.
Fill and read the burette properly
-
Fill using a funnel, then remove the funnel before taking readings.
-
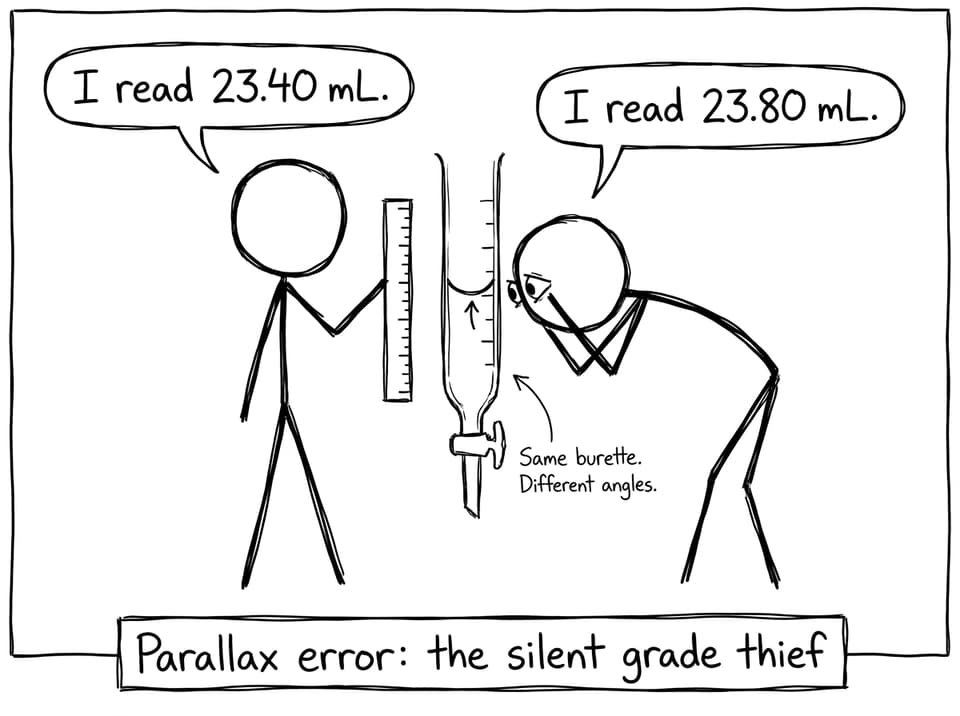
Record the initial reading at eye level (avoid parallax).
-
Read the meniscus to two decimal places.
Pipette the analyte into the flask
-
Transfer a fixed volume (commonly 25.0 cm³) into the conical flask.
-
Add 1-2 drops of indicator (more can slightly affect pH).
Choosing indicators becomes easier once you understand pH curves; RevisionDojo’s notes on pH Curves for Neutralization and Acid-base Combinations pH Curves help you predict where the steep region sits.
Titrate: fast, then slow
-
Add titrant while swirling continuously.
-
As you approach the expected endpoint, wash down the flask walls with distilled water.
-
Switch to drop-by-drop addition.
Classic indicator examples you’ll meet in IB Chemistry:
-
Phenolphthalein: colorless -> pale pink
-
Methyl orange: red -> orange/yellow
Get concordant titres
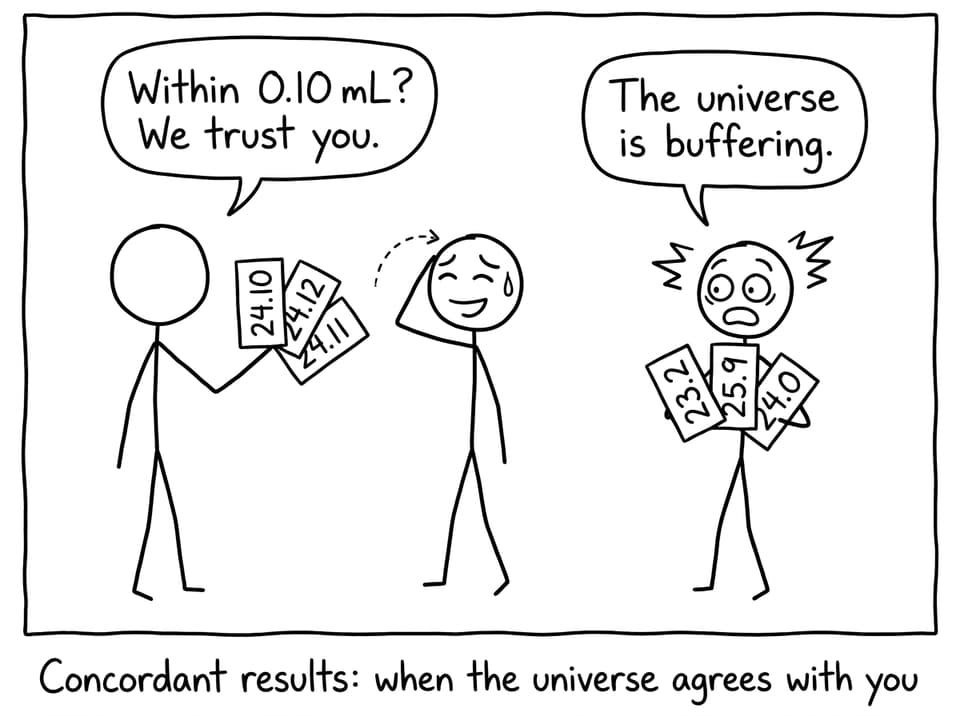
Repeat until you have at least two titres within 0.10 cm³ (your teacher may request three). This is reliability: not perfection, but consistency.
Titration calculations (the IB Chemistry way)
A strong habit for IB Chemistry is to write the “spine” of the calculation first:
-
n = cV for the titrant (convert cm³ to dm³)
-
Use the mole ratio from the balanced equation
-
Find moles of analyte
-
Convert to concentration with c = n/V (using analyte volume)
If concentration units trip you up under time pressure, bookmark Unit for Concentration in Chemistry.
For targeted practice on these exact steps, RevisionDojo’s Questionbank is built around how IB Chemistry marks calculations, including stoichiometry and uncertainty:
Common titration errors (and how to phrase them in IB Chemistry)
-
Overshooting endpoint: add dropwise near the end, swirl consistently.
-
Parallax error: read at eye level, consistent meniscus technique.
-
Not rinsing with correct solutions: prevents dilution/contamination.
-
Air bubble in jet: volume delivered is not what the burette shows.
-
Wrong indicator: transition range doesn’t overlap equivalence region.
In IB Chemistry lab evaluations, don’t just list errors; explain direction: “would increase titre” or “would decrease titre” and why.
Closing: make titration your predictable mark source
The best part about titration in IB Chemistry is that it rewards calm repetition. When your method is consistent, your titres tighten. When your stoichiometry steps are fixed, your calculations stop feeling like puzzles.
If you want to make titration automatic, use RevisionDojo as your workflow: Study Notes for the definitions, Flashcards for indicators and pH curve cues, the Questionbank for exam-style titration calculations, and AI Chat when a mark scheme step doesn’t click. Add Mock Exams and Predicted Papers near the end of your revision window, and use the Grading tools to check your working like an examiner would. When you’re ready to go beyond practice, RevisionDojo’s Tutors can help you fix technique and reasoning fast.
Titration doesn’t need confidence. It needs a system. And IB Chemistry rewards the students who build one.