

Recording your IB Music performance feels like a strange kind of honesty test. In the room, you can ride the moment: the breath before a phrase, the energy of the last cadence, the way your hands loosen after the hard passage. On a recording, everything becomes permanent. The beautiful parts stay--but so do the chair squeaks, the distorted peaks, and that one rushed bar you never rush in rehearsal.
The aim isn’t a studio-polished fantasy. The aim is a clear, natural IB Music recording that lets examiners hear your musical thinking: control, expression, style, and intention. That’s what these tips are for.
IB Music recording checklist (save this)
Before you hit record, run this quick IB Music checklist:
-
Choose the quietest room you can control (noise + echo are the real enemies).
-
Do a 20-second test clip and listen back on headphones.
-
Place your mic for balance (not maximum volume).
-
Set levels so nothing clips (leave headroom).
-
Record multiple full takes (continuous performance feel).
-
Back up files immediately (cloud + local).
-
Write 3 notes on what to fix, then record again.
If you’re unsure what the assessor is actually listening for, keep this open while you plan: What Examiners Look for in IB Music Performances.
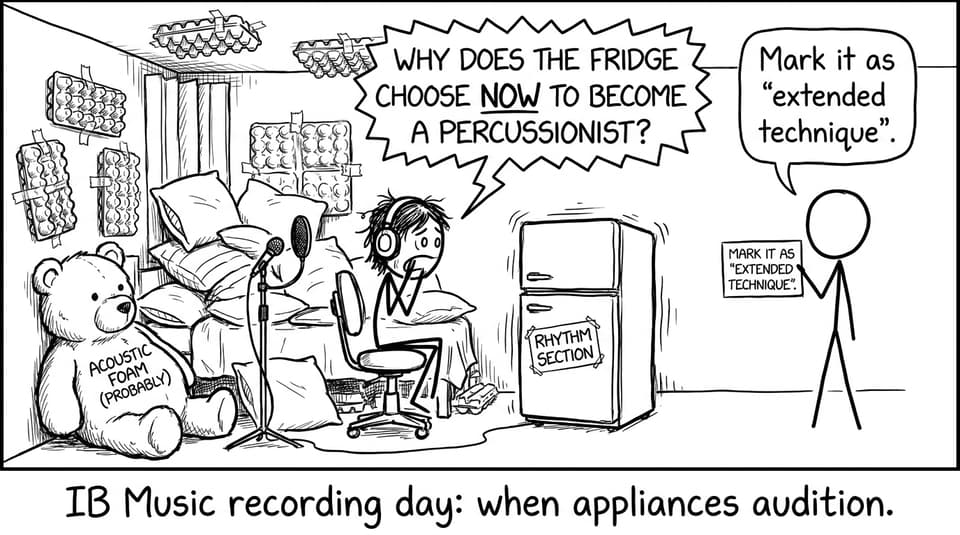
Choose a space that makes your IB Music sound believable
A good IB Music recording space is rarely the biggest room. Big rooms tend to add echo that you can’t “un-hear” later. Instead, look for a medium-sized room with soft furnishings: curtains, carpet, a couch, even a full bookcase.
Two simple rules:
-
If you can hear a long “tail” when you clap, you’ll hear it in your recording too.
-
If your room has unpredictable noise (traffic, AC, school bell), schedule around it.
The goal is clarity. Your sound should feel close enough to be intimate, but open enough to breathe.
Test your gear like a rehearsal, not like a guess
Treat your setup like part of your IB Music preparation. Do not wait for recording day to discover that your phone storage is full or your laptop fan sounds like a hi-hat.
Test these three things:
-
Microphone: an external mic helps, but even a phone can work if placement and levels are smart.
-
Camera framing (if video is required): you and the instrument should be clearly visible.
-
Software and file format: confirm the file saves correctly and plays on another device.
A helpful mindset is the same one you use for coursework: the process matters. If you want to keep your whole workflow organized (practice, reflection, deadlines), use Time Management Tips for IB Music Students as your planning backbone.
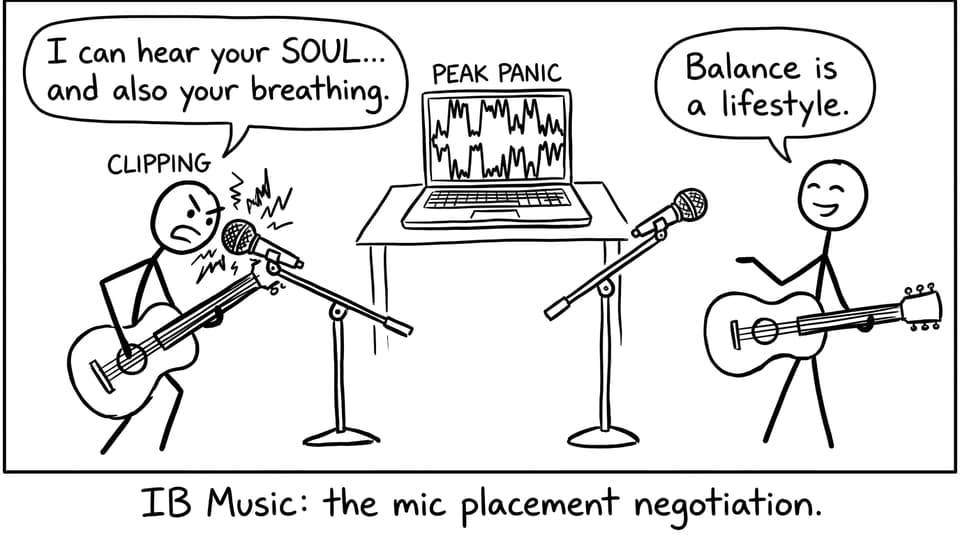
Mic placement: your quiet superpower in IB Music
In IB Music, a common mistake is placing the mic too close, then trying to “fix” it later. Close mics exaggerate details that are musical in moderation (breath, finger noise) but distracting when magnified.
Start simple:
-
Place the mic about 1 meter away (adjust based on instrument and room).
-
Angle slightly off-axis to soften harsh attacks.
-
Record 10 seconds at your loudest section and check for clipping.
Then listen back on headphones, not speakers. Speakers flatter you. Headphones tell the truth.
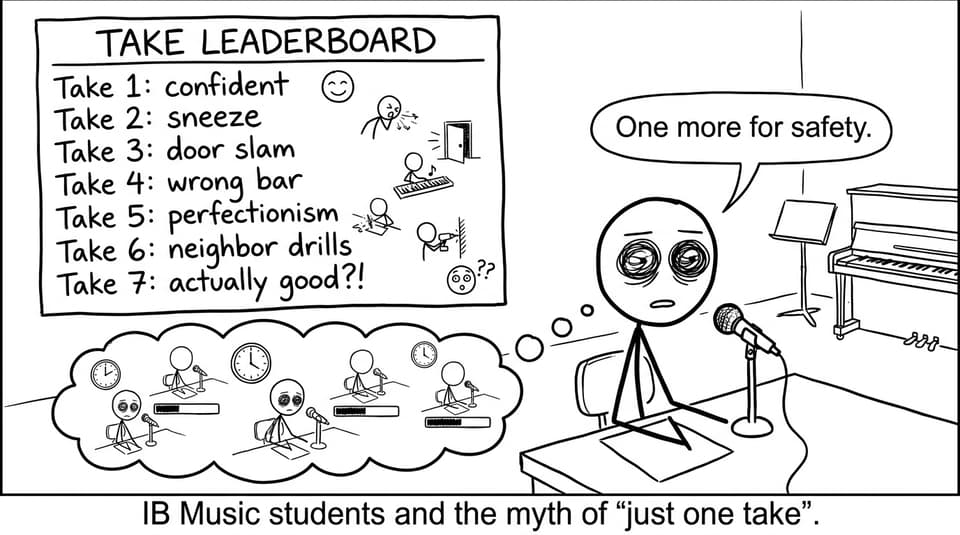
Record full takes to keep the performance “real”
For IB Music, you want a recording that sounds like a performance, not a stitched-together puzzle. That’s why full takes matter. They build musical continuity: pacing, phrasing, stamina, and emotional arc.
Here’s a practical routine:
-
Take 1: no pressure--just run it.
-
Take 2: fix the top 2 issues only.
-
Take 3: performance mode (pretend it’s live, no stopping).
If you’re prone to the “one more take” spiral, read IB Music Performance Mistakes (and How to Fix Them) and choose one mistake pattern to watch for, not ten.
Practice nerves: simulate pressure on purpose
The cleanest IB Music recordings often come from students who record regularly, long before the final session. Not because they’re flawless, but because the red light stops being a threat.
Try this:
-
Record once per week as a “mini submission.”
-
Do one take only, no retakes.
-
Write a short reflection: what improved, what repeated, what you’ll target next.
This pairs well with building a steady routine across the course. If you need a weekly structure, use Best Study Routines for IB Music Coursework Deadlines.
Use RevisionDojo to turn recordings into marks
A recording is evidence--but it’s also feedback. RevisionDojo makes that feedback loop easier to run.
-
Use AI Chat to diagnose what you’re hearing (tone, articulation, balance, stylistic choices) and translate it into actionable practice.
-
Use Flashcards to lock in performance vocabulary so your reflections sound precise.
-
Use Study Notes to connect interpretation to context and style.
-
Use Tutors when you want human, instrument-specific strategy.
And when exam season arrives, the same platform supports your wider IB plan with Questionbank, Predicted Papers, Mock Exams, and Grading tools--so IB Music doesn’t steal time from your other subjects.
If you’re still orienting yourself in the course, start here: What Is the IB Music Course? A Complete Beginner's Guide.
Closing: make your IB Music recording feel like you
A strong IB Music recording isn’t about hiding humanity. It’s about letting your musicianship come through without technical distractions. Set up a quiet space, test your gear, place the mic for balance, record full takes, and practise the pressure until it feels familiar.
When you want a calmer, more structured path from practice to submission, RevisionDojo is built for it--with Study Notes, Flashcards, AI Chat, Questionbank, Predicted Papers, Mock Exams, Grading tools, a Coursework Library, and Tutors. Your recording is the proof. Your preparation is the story. And IB Music rewards students who can make both clear.

