


Recording and editing is the moment your idea stops being “a concept” and becomes a film someone can actually experience. In IB Film, that shift matters because examiners can tell when a student had a clear intention, and when a student simply survived production. The difference is rarely expensive gear. It’s usually a handful of small, repeatable habits: better sound capture, steadier framing, smarter coverage, and edits that feel purposeful.
This guide breaks down practical, examiner-friendly IB Film workflows for recording and editing, plus a few reminders to protect your time (and your sanity).
IB Film recording and editing checklist (save this)
-
Record clean dialogue first, then “nice” shots.
-
Lock exposure and focus when possible.
-
Capture room tone and wild sound for every location.
-
Film coverage: wides, mediums, close-ups, and cutaways.
-
Label files immediately (scene, take, camera, audio).
-
Do a rough cut early, then refine pacing and meaning.
-
Color-correct for consistency, then grade for mood.
-
Write micro-reflections after each session for your IB Film portfolio.
If you’re trying to keep the whole course organized, it helps to have a big-picture map open like Dive into the World of IB Film: A Comprehensive Syllabus Guide.
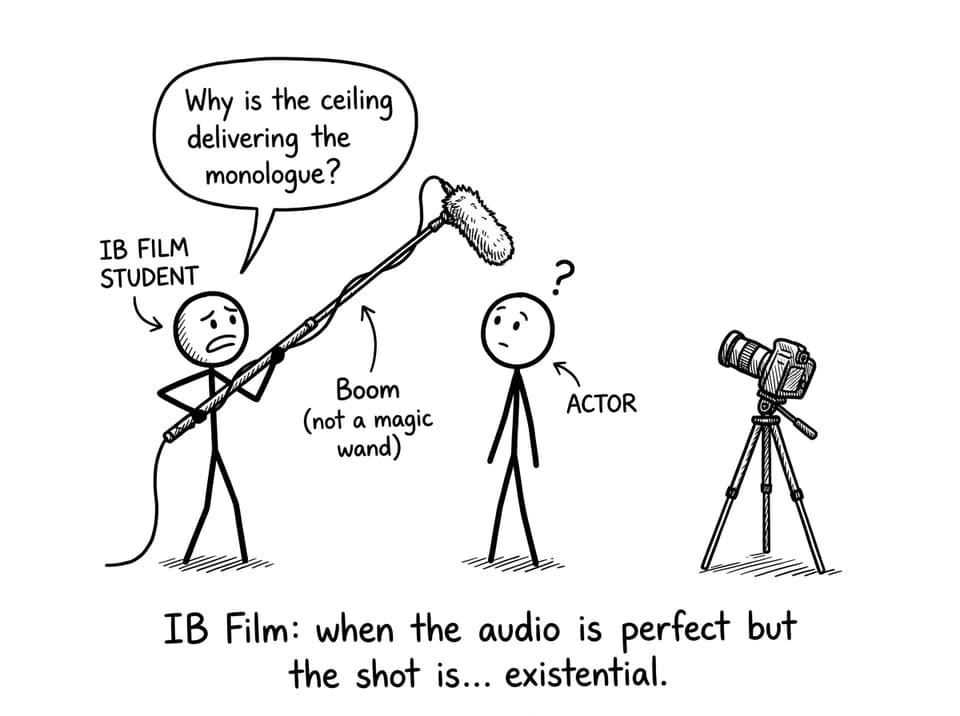
Record sound like it’s half the film (because it is)
In IB Film, sound is the fastest way to signal “student project” or “intentional craft.” The camera can be imperfect and still feel authentic. Noisy dialogue usually just feels unfinished.
A simple routine:
-
Get the mic close (closer than feels polite). Even a cheap external mic beats a phone across the room.
-
Monitor with headphones so you catch buzz, wind, clothing rustle, and peaking.
-
Record room tone for 20-30 seconds at every location. It saves you during edits.
-
Plan for ADR (re-recording dialogue) if needed. Not as a failure, but as problem-solving.
For more tech choices that examiners like because they’re justified, pair this with How to Use Technology (Editing Software, Cameras, Sound) in IB Film Coursework.
Shoot for the edit: framing, light, and coverage
A calm truth: you don’t “fix it in post” if you never gave yourself options.
When recording for IB Film, aim for clarity first, style second. Style works best when the basics are stable.
Keep shots readable
-
Use natural light when possible, but watch for mixed lighting that changes color across takes.
-
Avoid busy backgrounds that steal attention from performance.
-
Stabilize the camera with a tripod, table, or improvised support.
Capture coverage on purpose
Give your editor-self choices:
-
Establishing shots to orient the viewer.
-
Close-ups for emotional emphasis.
-
Reaction shots to control rhythm.
-
Cutaways (hands, objects, details) to hide continuity issues.
If your group project is struggling with who owns what on set, read How to Select Roles (Director, Editor, Cinematographer) in IB Film Group Projects.
Organize your footage so editing stays creative
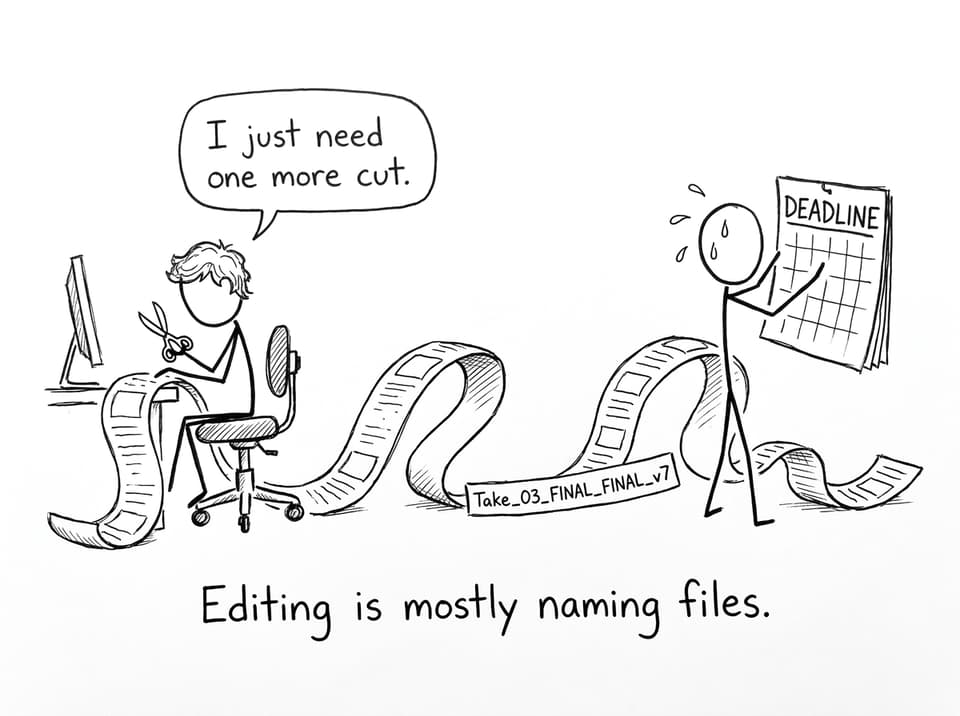
Most editing pain is not “I can’t edit.” It’s “I can’t find anything.”
Try this folder structure:
-
Footage
-
Day_01
-
Day_02
-
-
Audio
-
Lav
-
Boom
-
RoomTone
-
-
ProjectFiles
-
Exports
-
RoughCuts
-
FeedbackCuts
-
Final
-
Name clips with the future in mind: S03_Take04_CamA. Your IB Film edit becomes faster, and your process looks more controlled when you describe it in reflections.
Need a workflow that keeps deadlines from ambushing you? Use IB Film Study Routines for Coursework Deadlines.
Edit for rhythm and meaning (not effects)
Editing is where you prove you understand film form. Examiners reward cuts that create meaning: pacing, emphasis, juxtaposition, and coherence.
A strong IB Film approach:
Build in layers
-
Rough cut: story clarity, continuity, basic structure.
-
Fine cut: pacing, performance beats, reaction timing.
-
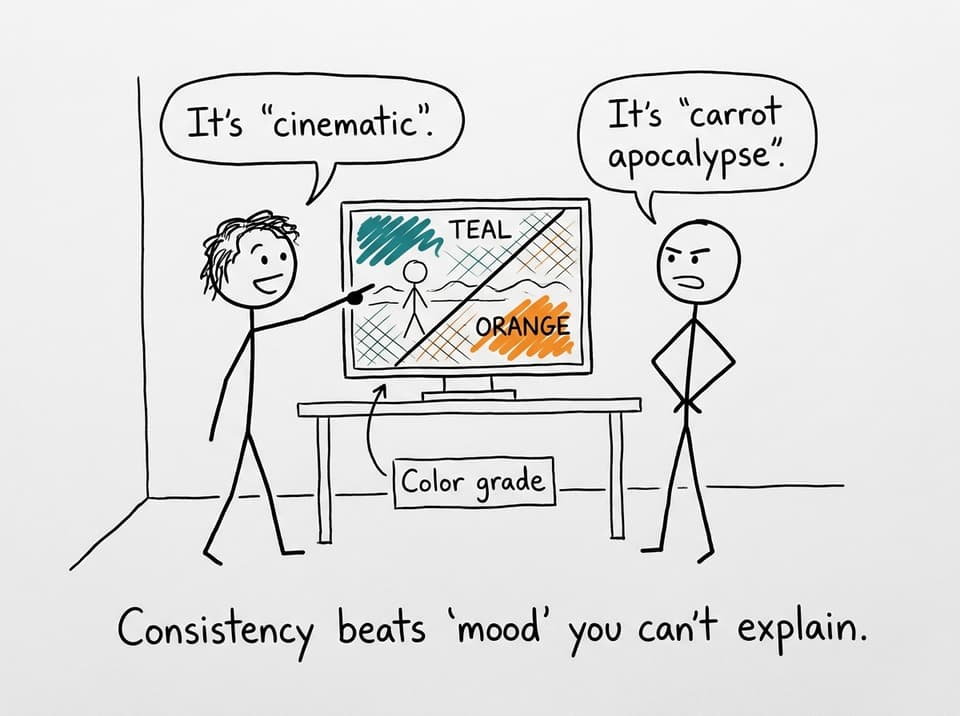
Polish: sound levels, EQ/noise cleanup, music balance, color correction.
Use techniques you can explain
Continuity editing is valid. Montage is valid. Match cuts are valid. The key is being able to articulate why your choice supports theme, tone, or audience response.
If you want editing ideas that naturally lead to better reflection sentences, keep IB Film: Editing Techniques That Create Meaning open while you cut.
Refine sound and color, then write the reflection while it’s fresh
The best reflections in IB Film sound like a filmmaker thinking, not a student listing steps.
After each major edit session, write 6-8 bullet points:
-
What changed (specific cut, sound choice, grade decision)
-
Why you changed it (meaning, rhythm, clarity)
-
What problem you hit (noise, continuity, coverage)
-
How you solved it (ADR, cutaway, re-ordering, trimming)
-
What you learned that will affect the next shoot
To see what “examiner-friendly” evidence looks like, browse Common Mistakes in IB Film Portfolios and How to Fix Them and then compare against samples in IB Film Exemplars.
Bring it all together with RevisionDojo
The goal in IB Film isn’t perfection. It’s control: capturing usable material, shaping it with purposeful edits, and reflecting in a way that shows you understand how film language creates meaning.
When you want that control to feel repeatable, RevisionDojo becomes your home base: Study Notes to clarify technique, Flashcards to keep film vocabulary sharp, AI Chat to troubleshoot creative decisions, Grading tools (including the IB Film: Collaborative film project Grader) to check rubric alignment, plus Mock Exams, Predicted Papers, the Coursework Library, and Tutors when you need momentum fast. For more targeted support, browse the IB Film posts hub and keep building.
If your next recording session is tomorrow, commit to one upgrade: better sound monitoring, cleaner coverage, or tighter file organization. In IB Film, small upgrades compound into a film that feels intentional, and a portfolio that reads like a filmmaker at work.