


Technology in IB Film is a little like a good supporting actor: if it’s doing its job, you barely notice it. You’re pulled into the story, the rhythm feels inevitable, and the sound sits so naturally you forget it was built layer by layer.
But most students meet technology in IB Film the other way around: as a late-night panic. The file won’t import. The audio hisses. The color grade turns skin tones into orange plastic. And suddenly you’re not thinking about meaning or culture or style-you’re bargaining with your laptop.
This guide is about keeping tech in its rightful place. In IB Film, cameras, editing software, and sound tools aren’t there to look impressive. They’re there to prove you can make intentional choices, control your process, and explain how your craft supports your goals.
IB Film technology checklist (use before you shoot)
-
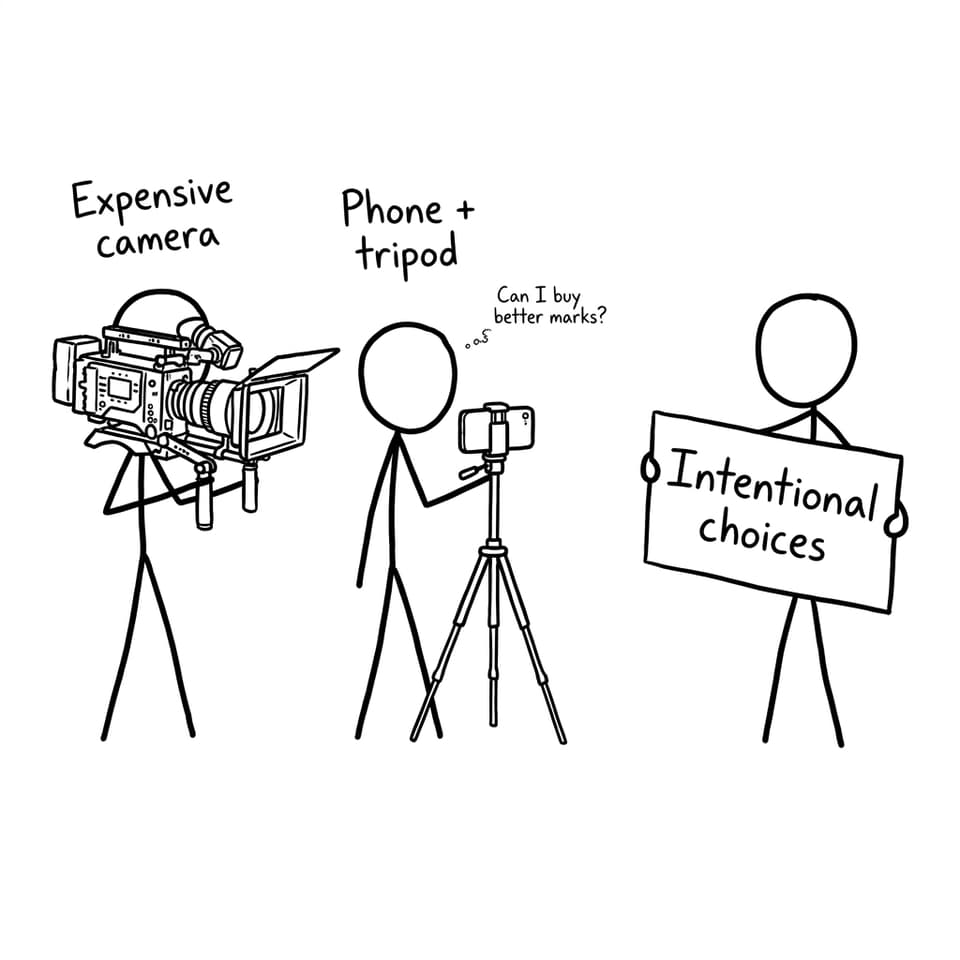
Decide your visual style first, then pick camera settings to match.
-
Record clean audio (monitor with headphones; grab room tone).
-
Choose editing software you can use confidently under deadlines.
-
Keep file management simple: consistent naming, folders, backups.
-
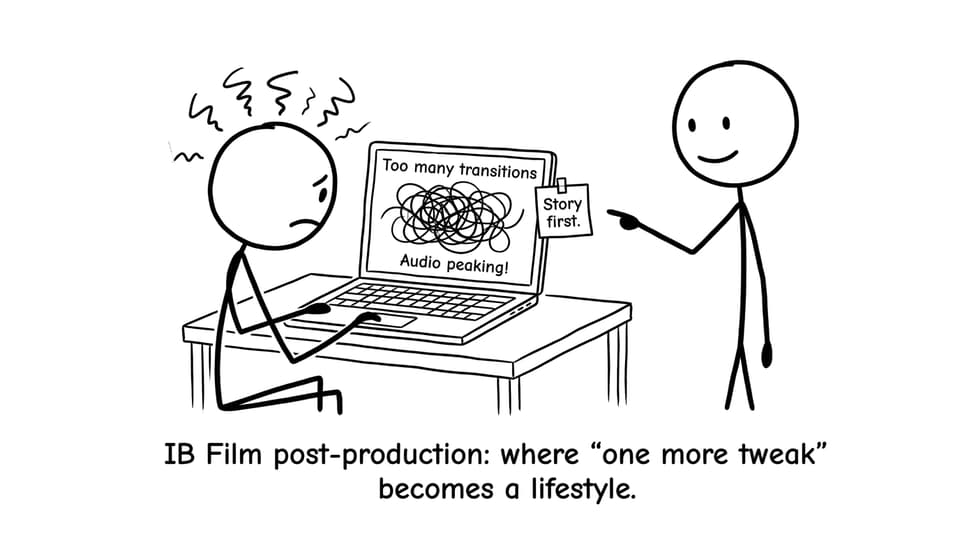
Use effects and transitions only when they serve meaning.
-
Write short reflections after each session so your IB Film documentation stays honest.
If you’re planning your workflow alongside your assessment tasks, keep the bigger course expectations nearby via the IB Film syllabus guide.
Cameras in IB Film: master control, not gear
Examiners can tell when you’re driving the camera versus when the camera is driving you. In IB Film, the goal is deliberate cinematography: a shot has a reason, a movement has a purpose, and your settings support that intention.
Start with three fundamentals:
Aperture (depth of field)
A wide aperture (low f-number) gives shallow depth of field, which can create intimacy or isolation. A narrower aperture holds more detail in focus, which can feel observational or realist. In IB Film, what matters is your reason: “shallow focus to trap the character in their own head” is a stronger idea than “cinematic blur.”
Shutter speed (motion feel)
Faster shutter speeds make motion crisp and tense. Slower shutter speeds add blur that can feel dreamy or chaotic. Test this before your shoot day so you’re not experimenting under pressure.
ISO (exposure vs noise)
Raising ISO helps in low light but adds grain/noise. Sometimes that texture is expressive, sometimes it’s distracting. The decision becomes an IB Film reflection point: what did you gain, and what did you sacrifice?
For the vocabulary that turns these choices into analysis-ready sentences, use how to analyze cinematography in IB Film essays.
Editing software in IB Film: build meaning in the cut
Editing is where your film learns what it is. In IB Film, editing software (iMovie, Premiere Pro, Final Cut, DaVinci Resolve) is less about “professional tools” and more about whether you can control pacing, continuity, and emphasis.
A practical approach:
Organize first, edit second
Make folders for footage, audio, music, exports, and project files. Name clips consistently. This isn’t boring admin-it’s how you avoid losing hours the week your portfolio is due.
Cut for clarity, then cut for feeling
Do a clean continuity pass so the scene makes sense. Then shape rhythm: shorten pauses, hold on reactions, or build montage patterns that suggest meaning. In IB Film, the examiner-friendly way to describe this is “editing choices shape viewer attention and emotional timing.”
Color correction before grading
Correct exposure and white balance first. Then grade for style. Even a subtle grade can support your influences (for example, colder tones for emotional distance). If you can link the look to traditions you study, your IB Film coursework becomes more coherent.
For Film-specific workflow ideas, see tips for recording and editing your IB Film project.
Sound in IB Film: the fastest way to look professional
In IB Film, weak sound pulls the examiner out of your story faster than almost anything else. The good news is that clean audio is usually a process problem, not a budget problem.
Record dialogue like it matters
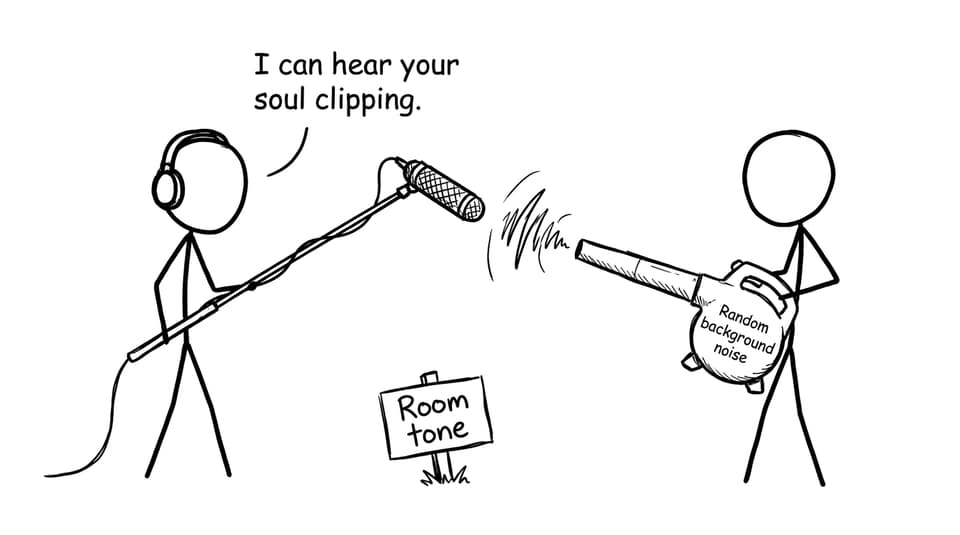
Use an external mic if you can. If you can’t, get the phone or recorder close. Monitor with headphones. If the audio peaks, you’re not capturing “intensity”; you’re capturing distortion.
Capture room tone
Record 20-30 seconds of silence in the location. This tiny clip solves huge editing headaches, letting you smooth cuts and reduce awkward gaps.
Layer sound intentionally
Use diegetic sound (steps, doors, traffic) to create space. Use non-diegetic sound (music, score, tonal drones) to steer emotion. Silence can be a tool too, especially when it signals a shift in perspective.
Technology choices in IB Film should match style and culture
A useful rule in IB Film: if you can’t explain why you used a tool, you probably didn’t need it.
Ask yourself:
-
Does handheld camera work connect to realism, urgency, or a movement you studied?
-
Do your editing rhythms echo an influence (fast montage vs patient observation)?
-
Does your sound design reflect place, culture, or storytelling tradition?
This is also where many students lose marks by becoming “effect collectors.” The fix is simple: keep tech decisions tied to meaning, and check your work against common traps in common mistakes in IB Film portfolios and how to fix them.
A quick reflection routine (so your IB Film documentation writes itself)
After each session, write 6-8 lines:
-
What did I try to achieve today?
-
What technical choice helped most?
-
What constraint shaped the outcome?
-
What would I change next time?
If you want a structure that stays consistently examiner-friendly, follow how to write reflections in your IB Film journal.
Finish your IB Film project like an examiner is watching
The best IB Film coursework doesn’t look “perfect.” It looks controlled. It looks like you made choices, understood tradeoffs, and built a style that matches your story and context.
RevisionDojo helps you do that without guessing. Use the Coursework Library for models, the Mock Exams and Predicted Papers to keep exam prep warm, the Questionbank and Flashcards to sharpen film language, and Tutors when you want human feedback on your filmmaking decisions. Start by browsing the IB Film hub, then build a tech plan that keeps your IB Film process calm, clear, and examiner-ready.