


Every IB Film student has a moment where the film in their head is perfect… and the film on the screen is confusing.
The difference is rarely “talent.” It’s planning.
A storyboard is the quiet tool that turns intention into evidence. In IB Film, that matters twice: it makes production smoother, and it gives examiners proof that your choices were deliberate. This guide shows you how to plan and execute a storyboard for IB Film in a way that’s clear, practical, and aligned with what earns marks.
IB Film storyboard quick checklist
If you only have 15 minutes, use this IB Film storyboard checklist:
-
Identify the theme and the audience effect for the scene
-
Break the script into beat-by-beat “visual moments”
-
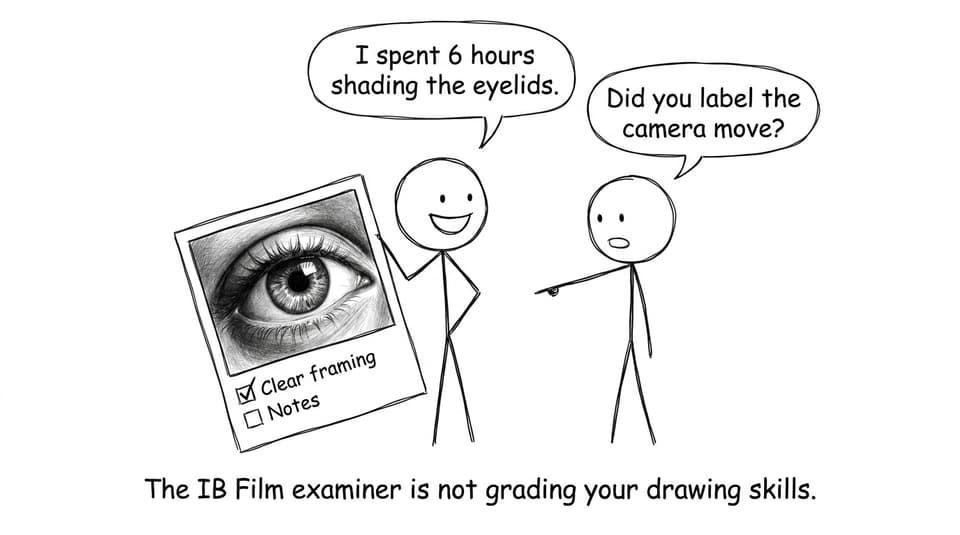
Sketch simple frames (clarity beats artistry)
-
Label shot size, angle, and composition
-
Mark camera/character movement with arrows
-
Note sound (diegetic, non-diegetic, silence, dialogue cues)
-
Add editing transitions and pacing notes
-
Revise after test shots (your storyboard is a living document)
For bigger-picture planning across components, keep the IB Film syllabus guide open while you work.
Why storyboarding matters in IB Film
In IB Film, storyboarding is less about “drawing” and more about visual thinking. It forces you to decide what the audience sees first, what they miss, and what they feel.
A storyboard also helps you:
-
Predict technical needs (lighting, lenses, props, locations)
-
Communicate fast with collaborators (actors, camera, sound)
-
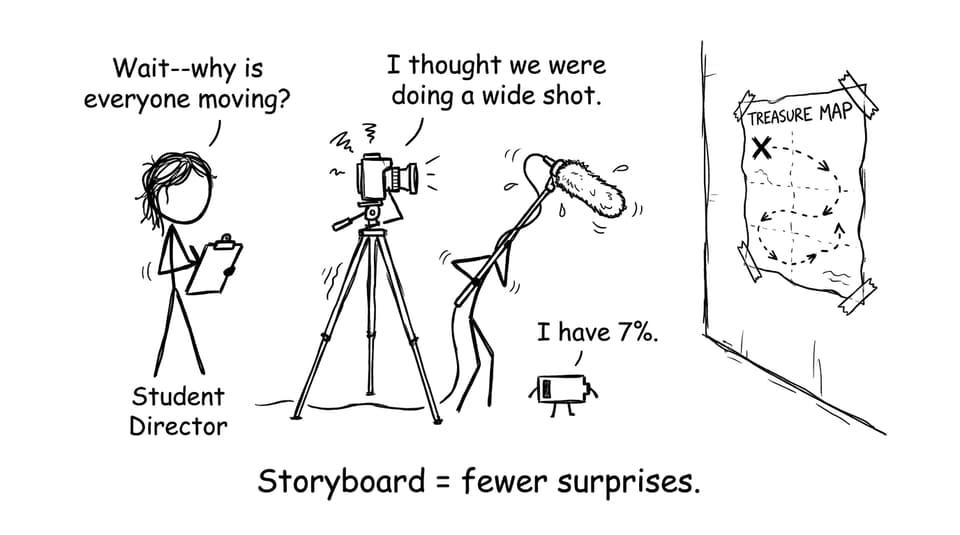
Reduce time waste on set (fewer “what are we shooting?” moments)
-
Create examiner-friendly evidence of planning and reflection
If you want your storyboard choices to sound more analytical in write-ups, it helps to review technique language from how to analyze cinematography in IB Film essays. That vocabulary turns sketches into marks.
How to plan a storyboard for IB Film (step-by-step)
Start with the screenplay, but think in beats
Don’t storyboard dialogue. Storyboard moments.
Read your scene and underline:
-
turning points (a revelation, an interruption, a decision)
-
shifts in power (who controls the space)
-
emotional pivots (fear to relief, calm to threat)
Each pivot deserves panels. This is where IB Film examiners can “see” that you’re using film language to shape meaning.
Choose a format you can actually maintain
Paper grids work. Digital tools work. The best format is the one you’ll revise without resentment.
A useful rule: if your storyboard takes so long that you stop testing shots, it’s too heavy. Keep it light enough to iterate.
Design framing and composition with purpose
In IB Film, framing isn’t decoration. It’s argument.
In each panel, label:
-
shot size (CU/MS/LS)
-
angle (high/low/dutch)
-
composition notes (rule of thirds, negative space, symmetry)
Then add one sentence: “This choice suggests…” That single line becomes a ready-made reflection later.
Add movement and transitions early
Use arrows for:
-
character movement (blocking)
-
camera movement (pan/tilt/dolly/handheld)
-
focus shifts (rack focus)
Then annotate transitions: cut, dissolve, fade, match cut. Editing is meaning-making in IB Film, so don’t treat it as an afterthought.
Include sound notes (the marks students forget)
Strong IB Film storyboards include sound because sound is storytelling.
Under each frame, write quick cues:
-
dialogue (only key lines)
-
ambient sound (room tone, traffic, wind)
-
music (entry point, mood, purpose)
-
silence (yes, label it)
If you’re unsure how to justify sound choices, read how to research film effectively for IB assignments and borrow the habit of linking technique to effect.
Executing your IB Film storyboard on set
A storyboard succeeds when it survives reality.
Treat it like a shot contract (but allow smart breaks)
Bring a printed storyboard or a tablet version. On set, check off shots and note changes:
-
“Changed to handheld due to tight location”
-
“Swapped CU and MS for pacing”
-
“Dropped crane idea, replaced with high-angle static”
Those notes aren’t admissions of failure. In IB Film, they are evidence of decision-making.
Run a tight improvement loop with RevisionDojo tools
When you’re stuck, the fastest fix is feedback plus repetition:
-
Use RevisionDojo AI Chat to sanity-check whether your storyboard choices communicate theme
-
Turn recurring technique terms into daily Flashcards so your reflection language stays sharp
-
Use Grading tools to align reflections to criteria-style expectations
-
Pull planning inspiration from the Coursework Library
And when you need more IB Film-specific guidance and examples, browse the IB Film collection.
Common storyboard mistakes (and the quiet fixes)
-
Too pretty, not readable: simplify frames, enlarge key subjects, label movement
-
No sound notes: add one sound intention per panel, even if it’s silence
-
Same shot size all scene: force variety (wide to orient, close to reveal)
-
Storyboard made after filming: date drafts and include iteration notes
-
No link to theme: add one “meaning” line under each major frame
If you want a fast self-audit of whether your planning materials feel examiner-ready, compare your work to the pitfalls in common mistakes in IB Film portfolios and how to fix them.
Closing: make your IB Film storyboard do two jobs
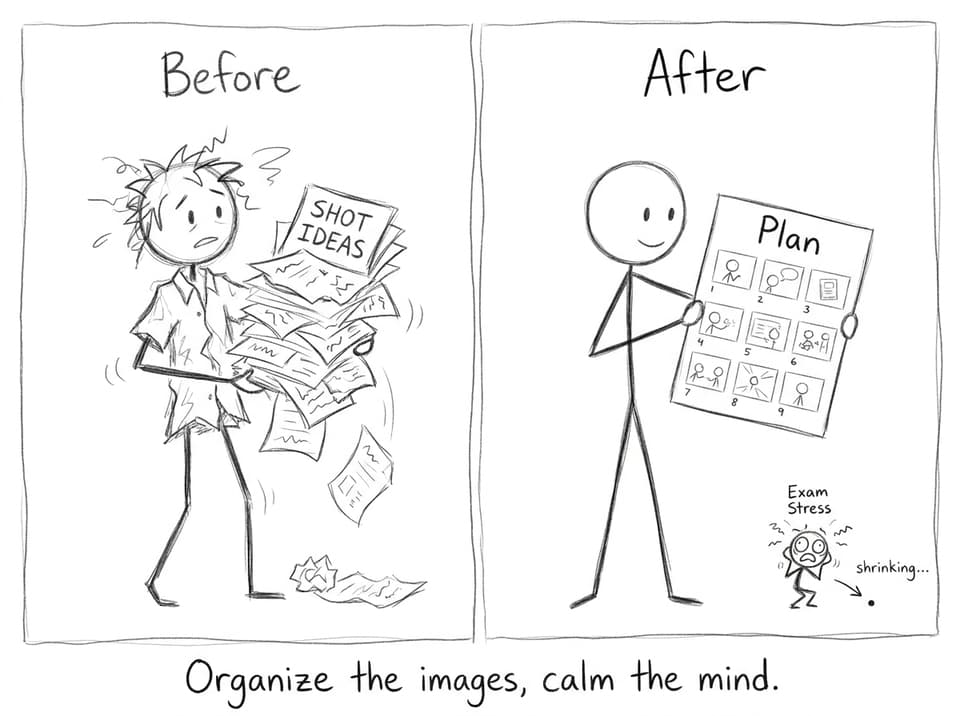
A strong IB Film storyboard is both a map and a mirror. It guides the shoot, and it reflects your thinking in a way examiners can trust.
If you want a calmer workflow, build your storyboard, test a few shots early, then refine. And if you want that process to translate into marks, use RevisionDojo to tighten the loop: Study Notes to clarify film language, Flashcards to keep it ready, AI Chat to troubleshoot choices, Grading tools to align reflections, a Coursework Library for models, and Tutors when you want human feedback that moves your work forward.
Your next IB Film storyboard doesn’t need to be beautiful. It needs to be clear, intentional, and executable.