


If you have ever stared at your IB Design Technology project and felt the quiet dread of a blank page, a half-built prototype, and five other subjects competing for oxygen, you are not behind. You are simply standing at the start of a very normal problem: big work has a way of looking infinite until you give it borders.
Large projects in IB Design Technology (especially the IA and extended design portfolios) reward the same habit over and over: small, repeatable decisions made on schedule. Not heroic last-minute effort. Not one perfect idea. A system.
This guide gives you that system. You will learn how to scope your project, break it into phases that match the design cycle, document without drowning in screenshots, and stay exam-ready at the same time. Along the way, you will see how RevisionDojo can make IB Design Technology feel more manageable with its Questionbank, Study Notes, Flashcards, AI Chat, Grading tools, Predicted Papers, Mock Exams, Coursework Library, and Tutors.
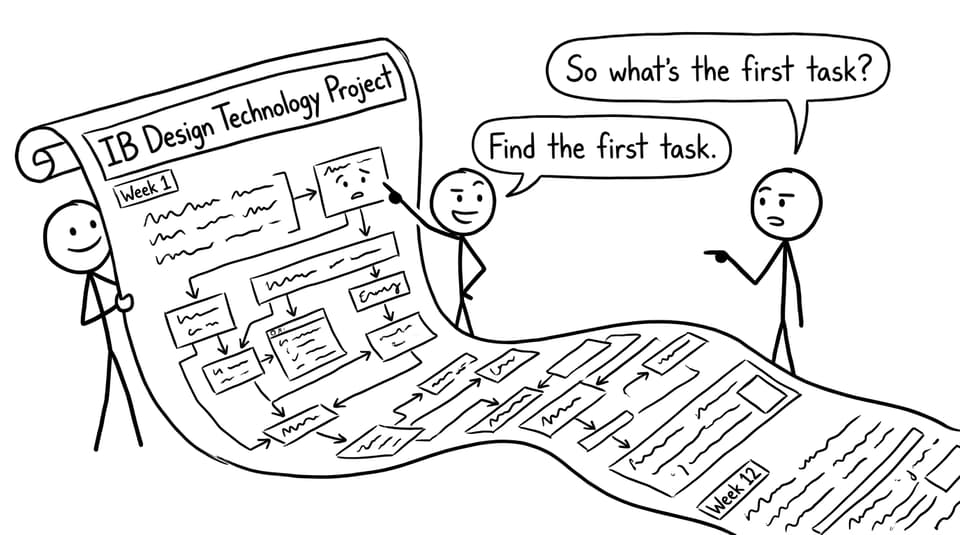
A quick checklist for managing a large IB Design Technology project
Use this as your weekly reset. In IB Design Technology, consistency beats intensity.
-
Write a one-sentence problem statement and keep it visible.
-
Turn research into testable design requirements (not paragraphs).
-
Split the project into four phases: research, ideation, development, evaluation.
-
Set deadlines for deliverables, not “work time.”
-
Build a documentation habit: capture, label, reflect.
-
Schedule recurring feedback moments (teacher, peers, users).
-
Protect exam prep time with short, frequent topic practice.
-
Add buffer weeks for prototyping surprises and rework.
For a structured home base, keep the main hub bookmarked: IB Design Technology Resources.
Start with scope: the project is not your idea, it is your constraints
A strong IB Design Technology project begins with a helpful limitation. The best students do not choose “the coolest product.” They choose a problem that can be investigated, designed, tested, and evaluated inside the time you actually have.
Try this framing:
-
User: one specific person or group with a real context.
-
Need: one measurable pain point.
-
Outcome: one tangible improvement you can test.
If your topic still feels wide, tighten it until you can answer: What will I physically test in Week 6? When you can name that test, the rest becomes easier to plan.
If you are writing your IA and want a clear stage-by-stage map, use: Step-by-Step Guide to Writing a Winning IB Design Technology IA.
Build the project in phases that match IB Design Technology marking logic
When students get overwhelmed in IB Design Technology, it is usually because everything feels simultaneous: research, sketches, CAD, manufacturing, testing, writing. The fix is to treat each design cycle phase like a mini-project with its own “definition of done.”
Research phase: only keep research that changes a decision
Research is not rewarded for length. It is rewarded when it produces design requirements and justifies choices.
A practical filter:
-
If a research point becomes a design requirement, keep it.
-
If it influences materials, processes, ergonomics, sustainability, keep it.
-
If it will be referenced again in testing and evaluation, keep it.
-
If it just “sounds interesting,” it is probably noise.
For a calm, criteria-aligned way to judge research volume, read: How Much Research Do You Need in the IB Design Technology IA?.
Ideation phase: quantity first, then decision-making
Examiners want to see you explore options and then select one using evidence. In IB Design Technology, it is safer to generate several viable concepts quickly than to fall in love with one early.
Make ideation concrete:
-
Produce multiple concept directions (not cosmetic variations).
-
Annotate each with pros/cons tied to the user and requirements.
-
Choose using a simple selection tool (decision matrix, weighted requirements).
-
Record what you rejected and why (this is where marks hide).
If you also need to keep exam knowledge sharp while you design, use topic practice loops from the DT Questionbank, like B2.2 Modelling and Prototyping Questionbank.
Development phase: prototype in versions, not in one perfect build
The fastest way to lose time is to aim for a flawless prototype on attempt one. A better IB Design Technology strategy is versioning:
-
V0: rough model to prove size/ergonomics.
-
V1: functional prototype to test key mechanisms.
-
V2: refined prototype addressing weaknesses found in testing.
Each version should answer a question. “Does it fit the user?” “Does the joint hold?” “Does it survive a drop test?” When your prototype has a purpose, your documentation becomes naturally focused.
Need theory support while you build? Pair your making with relevant notes, such as: 10.3 Computer-integrated manufacturing (CIM).
Evaluation phase: evaluate the requirements, not your feelings
Evaluation is where many portfolios get vague. In IB Design Technology, evaluation should read like a set of claims backed by evidence.
A strong evaluation section:
-
Revisits each design requirement.
-
Shows test data (photos, measurements, user feedback).
-
Interprets results honestly (including failures).
-
Proposes improvements tied to the data.
When you are close to submission, this article helps you tighten everything without adding useless volume: How Do You Finalise and Submit the IB Design Technology IA?.
The invisible skill: documentation that is light, consistent, and credible
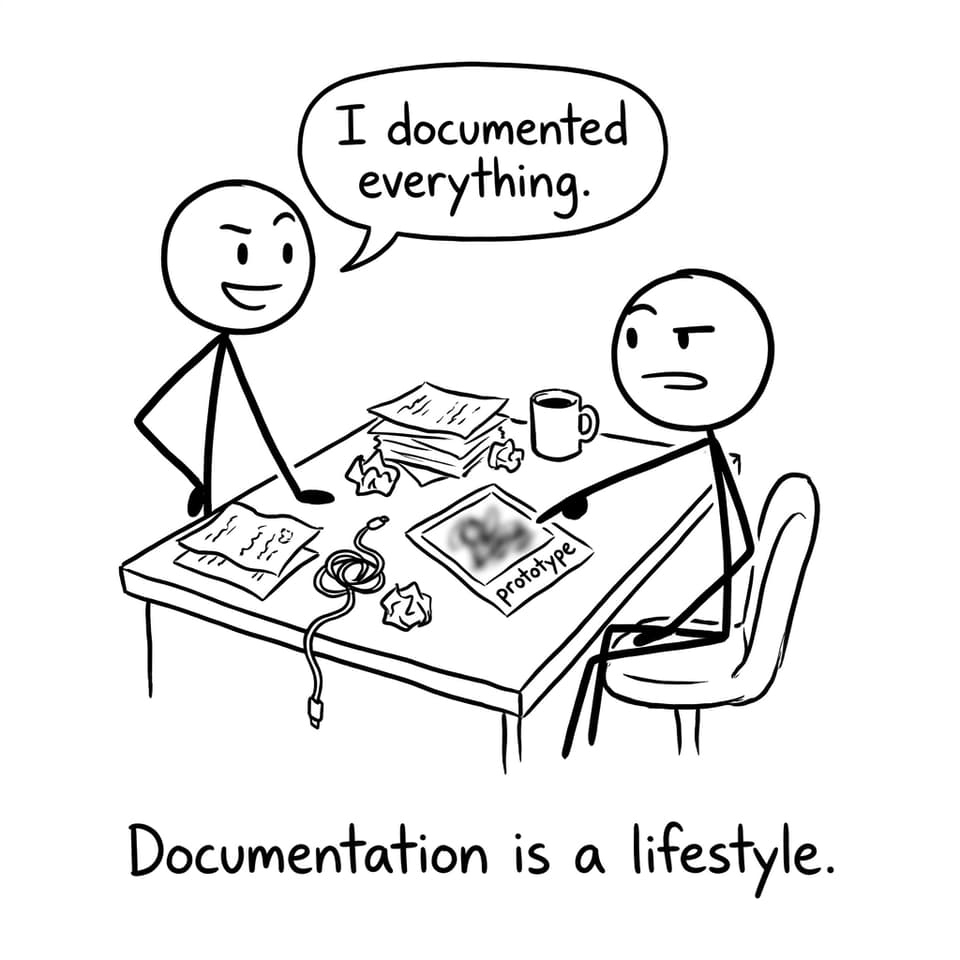
Documentation is not a scrapbook. It is a trail of decisions.
A simple weekly rhythm for IB Design Technology documentation:
-
Capture: 3-5 photos/screenshots per week (prototype, CAD, test setup).
-
Label: one sentence explaining what the image proves.
-
Reflect: 4-6 lines on what changed and why.
-
File: one folder per phase, with dates in filenames.
This is enough to avoid the classic problem: trying to reconstruct months of thinking from memory.
If you want external reference points for what “good” looks like, the Coursework Library helps you calibrate: IB Design Technology (First Exam 2027) Exemplars.
Use a project management system you will actually maintain
The best tool is the one you keep opening. For most IB Design Technology students, that means something visually simple.
A two-layer system that works
Layer 1 (timeline): a basic Gantt-style plan with milestones.
-
Research complete
-
Requirements finalized
-
Concepts generated
-
Concept selected
-
Prototype V0/V1/V2 built
-
Testing completed
-
Evaluation written
-
Final edits
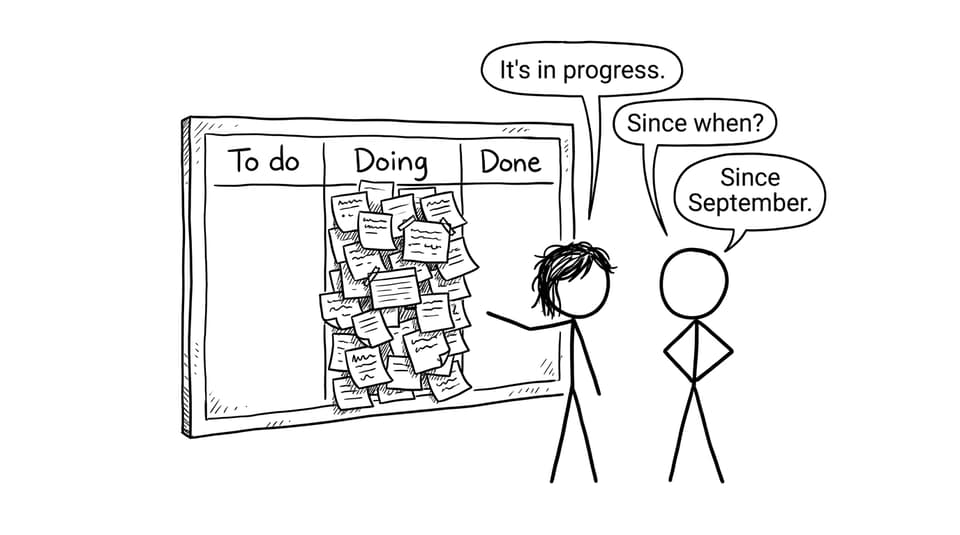
Layer 2 (task flow): a Kanban board with “To do / Doing / Done.”
The trick is to write tasks as deliverables:
-
“Create user survey + summarize results”
-
“Decision matrix for concepts”
-
“Drop test protocol + results table”
Not: “Work on IA.”
Stay exam-ready while you build: the two-track IB Design Technology plan
Large coursework can quietly steal your exam prep time. The fix is to run two tracks in parallel:
-
Project track (1-2 deep sessions/week): build, test, write.
-
Exam track (3-5 short sessions/week): retrieve knowledge and practise questions.
On RevisionDojo, this becomes a clean loop:
-
Use Study Notes for a fast concept refresh.
-
Use Flashcards for definitions and command terms.
-
Use Questionbank sets for targeted weaknesses.
-
Use AI Chat when a markscheme explanation feels confusing.
-
Use Predicted Papers and Mock Exams to rehearse timing and decision-making.
To build a weekly routine that fits this approach, read: Best Study Strategies for IB Design Technology Students.
And when you want full-paper practice for IB Design Technology, use: Design Technology Predicted Papers (Free).
Feedback loops: meet your teacher before you “need” them
A large IB Design Technology project fails slowly. You do not notice the problem until the deadline is close and the portfolio is hard to restructure. That is why feedback should be scheduled, not begged for.
Try this cadence:
-
Every 2 weeks: a 10-minute check-in with one question (“Does my evidence meet Criterion X?”)
-
After each test: one quick review of what the data actually says
-
Before final submission: a rubric-focused pass with a grader
RevisionDojo can support this with grading tools that help you see your work the way an examiner might. For example: IB Design Technology HL IA Grader.
If your course is under the newer assessment model, you can also use: IB Design Technology (First Exam 2027) IA Grader.
Closing: make the project smaller than your anxiety
A large project in IB Design Technology is not meant to be comfortable. It is meant to teach you how to build something real while thinking like a designer: defining a problem, making trade-offs, testing honestly, and improving.
When you manage it well, it stops feeling like a single giant mountain and starts feeling like a set of steady steps. Scope the problem. Phase the work. Document lightly but consistently. Keep exam practice alive in short bursts.
If you want one place to run that entire system, start here: IB Design Technology Resources. Then use RevisionDojo’s Questionbank, Study Notes, Flashcards, AI Chat, Grading tools, Predicted Papers, Mock Exams, Coursework Library, and Tutors to keep your IB Design Technology project moving and your exam confidence rising at the same time.