

If biomechanics feels like it was designed to humble you, you’re not imagining it. One minute you’re watching a sprint start, the next you’re expected to explain why a tiny change in body position changes acceleration, stability, and injury risk. The good news: IB SEHS Topic 4 rewards students who learn a few core ideas clearly, then practice applying them under exam pressure.
This guide is a visual, exam-focused path through IB SEHS biomechanics: force and motion, centre of mass and stability, levers, motion types, and why all of it matters for performance and injury.
The 60-second IB SEHS Topic 4 checklist
Use this quick checklist before you do any questions:
-
Can you define force as a vector (magnitude + direction)?
-
Can you separate contact forces (friction, tension) from non-contact forces (gravity)?
-
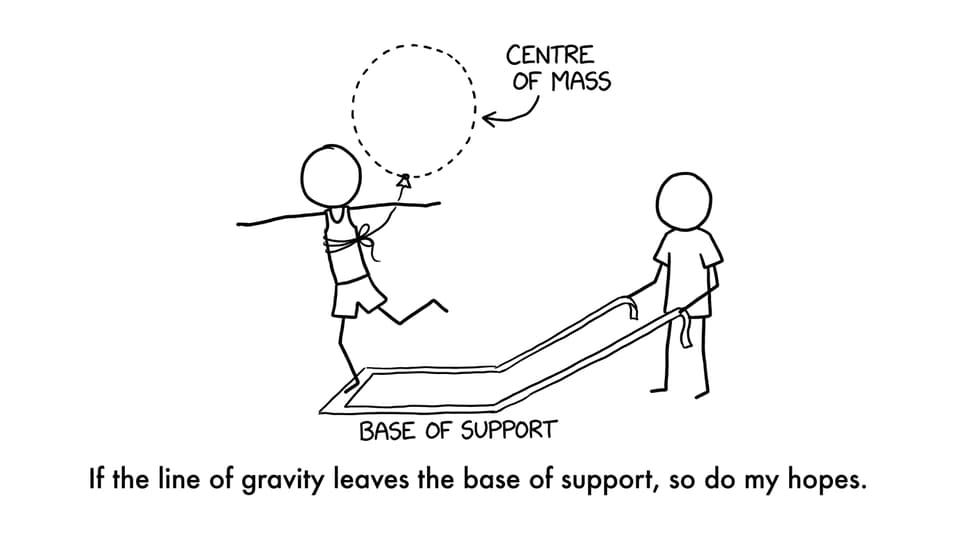
Can you explain centre of mass (COM) and link it to stability (base of support, line of gravity)?
-
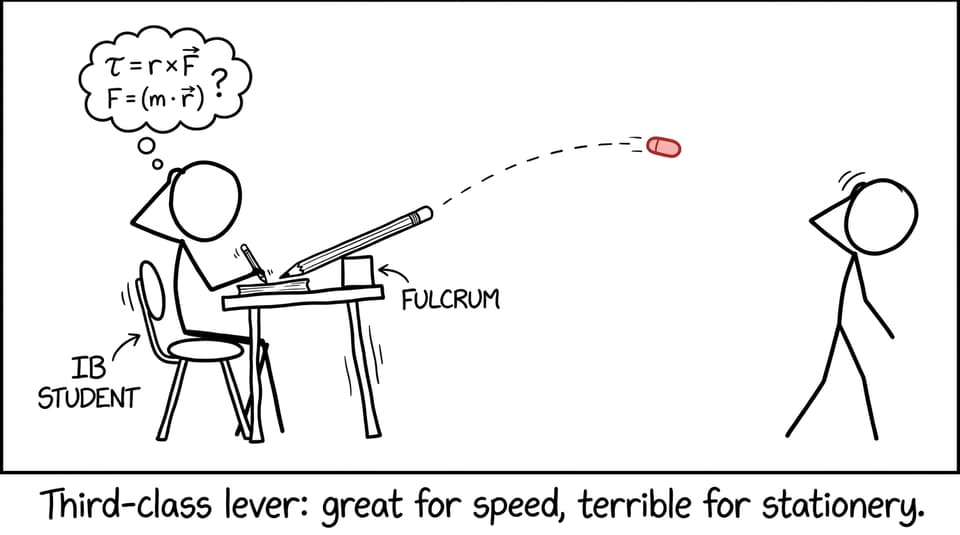
Can you identify first-, second-, and third-class levers using fulcrum, load, effort?
-
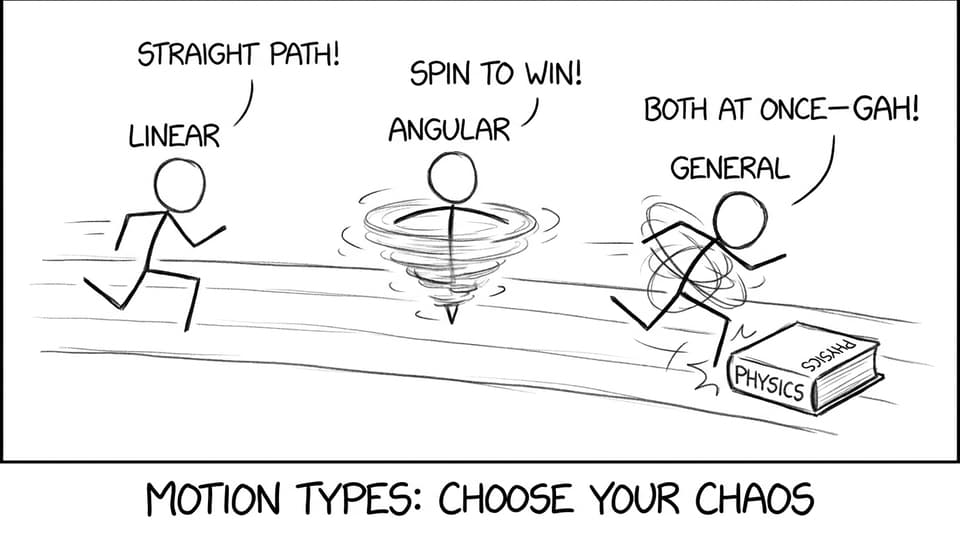
Can you classify movement as linear, angular, or general motion?
When you’re ready to deepen each piece, keep RevisionDojo open beside you: start with RevisionDojo’s SEHS Topic 4 notes and then move straight into targeted questions.
Force and motion: where IB SEHS marks are hiding
In IB SEHS, biomechanics is less about memorizing words and more about explaining cause and effect. Force is your starting point because it initiates motion or changes it.
A clean way to write exam explanations:
-
Name the force (e.g., friction with the ground).
-
State the direction.
-
Describe the outcome (change in acceleration, velocity, momentum, or rotation).
To practice the exact phrasing examiners reward, use the B.2 Forces, motion and movement hub and then do rapid sets in the 4.3.1 definitions questionbank.
Centre of mass and stability: the “line of gravity” story
Think of COM as the body’s balancing “summary point.” In IB SEHS questions, stability usually comes down to three levers you can explain quickly:
-
Base of support: wider base == more stable.
-
COM height: lower COM == more stable.
-
Line of gravity: if it falls outside the base, stability decreases.
Write answers like you’re describing a slow-motion replay: “The athlete widens the base of support and lowers the COM, keeping the line of gravity within the base, increasing stability.”
Levers in human movement: the fastest way to stop guessing
Levers are everywhere in IB SEHS biomechanics because they connect anatomy to performance.
-
First-class: fulcrum between effort and load (e.g., neck extension).
-
Second-class: load between fulcrum and effort (e.g., plantar flexion at the ankle when rising onto toes).
-
Third-class: effort between fulcrum and load (e.g., elbow flexion with the biceps), most common.
If you keep mixing them up, drill recognition with levers flashcards (4.3.6), then connect it to real movement using the movement analysis questionbank.
Motion types: label the movement before you explain it
Biomechanics questions often become easier when you name the motion type first:
-
Linear motion: straight line movement (running, sprint start).
-
Angular motion: rotation around an axis (somersault, spinning in figure skating).
-
General motion: combination of linear and angular (most sports skills).
Performance and injury: the practical payoff in IB SEHS
The examiner isn’t asking biomechanics because it’s “cool physics.” They’re asking because it predicts performance and injury risk.
Biomechanics helps you:
-
spot inefficient technique (wasted force, poor alignment)
-
explain injury mechanisms (force direction, joint position, load)
-
justify safer training choices (stability, leverage, controlled acceleration)
To link biomechanics to real exam scenarios, combine injury content with biomechanics practice in the B.3 Injury questionbank.
Final takeaway: make IB SEHS biomechanics feel predictable
IB SEHS Topic 4 gets easier when you stop treating it like scattered facts and start treating it like a small toolkit: forces create changes in motion, COM and base of support explain stability, levers explain how the body trades force for speed, and motion types help you label what you’re seeing.
If you want a single place to run that toolkit every day, build a tight loop on RevisionDojo: read the key points in the SEHS Topic 4 notes, drill recall with flashcards, then pressure-test your understanding in the questionbanks until your explanations sound like the markscheme.