


A good IA experiment rarely looks impressive at first glance.
It usually looks… calm.
A beaker. A stopwatch. A simple setup you can repeat without drama. That calm is the point. In an IB Science IA, examiners reward experiments that are controlled, measurable, and explainable more than experiments that look like a science fair explosion.
If you want a 7, your experiment design has to do one quiet thing extremely well: make your conclusion believable.
A quick IA experiment checklist (save this)
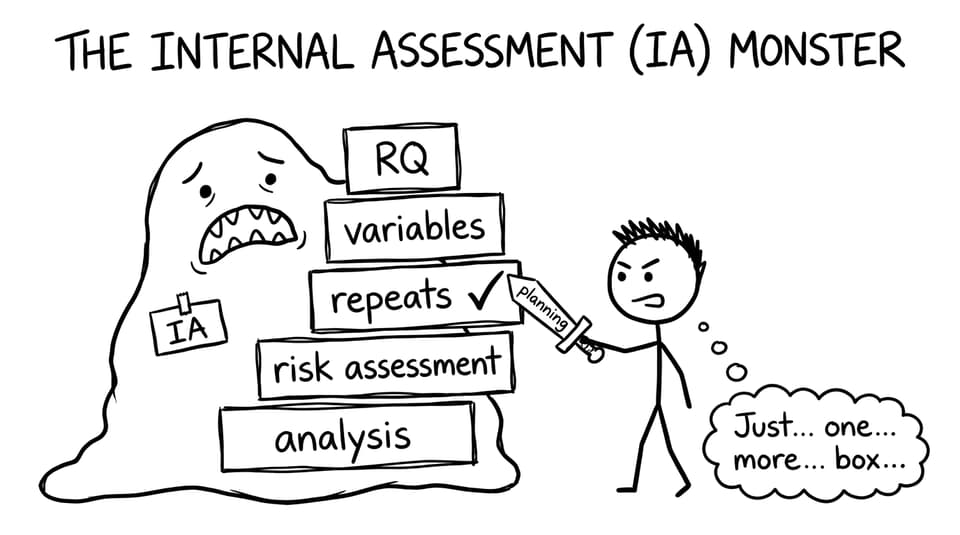
Before you commit to your IA, check that your experiment has:
-
A focused research question (one clear cause, one measurable effect)
-
Clearly defined independent, dependent, and control variables
-
A method someone else could replicate without guessing
-
Enough range and repeats for meaningful processing
-
Instrument precision and uncertainty recorded from day one
-
A plan for graphs and statistics (not added as an afterthought)
-
Risks, ethics, and environmental impact addressed
If you want a wider picture of what the IB values across subjects, read: What IB Examiners Look for in a Strong IA.
Step 1: Build your IA around a research question that can be tested
Your IA doesn’t start with an experiment. It starts with a research question that forces an experiment.
A strong question is specific, measurable, and narrow enough to answer with your time and equipment. When students miss 7s, it’s often because the question is too broad, or the dependent variable is vague.
Examples that work (because they are measurable):
-
Biology: How does light intensity (lux) affect oxygen production rate in Elodea?
-
Chemistry: How does HCl concentration (mol dm⁻³) affect reaction rate with CaCO₃?
-
Physics: How does incline angle (degrees) affect acceleration of a trolley?
For a sharper process, use: How to Write a Strong IA Research Question.
Step 2: Define variables like you’re writing instructions for a stranger
In a high-scoring IA, variables are not just named. They’re operationalized.
-
Independent variable: what you change, including how you set it and in what units.
-
Dependent variable: what you measure, including the instrument and method.
-
Control variables: what could affect results and how you keep them constant.
If your control variables read like a wish list (“keep temperature constant”), add the mechanism (“water bath at 25.0°C, monitored with ±0.5°C thermometer”).
Step 3: Choose a method that is repeatable, not theatrical
Your IA method should feel boring in the best way.
Write it so another IB student could reproduce your dataset without asking you questions. That means:
-
Exact materials and quantities (include concentrations, volumes, and model names when relevant)
-
Step-by-step procedure with timing, mixing, and measurement points
-
A consistent way to start and stop trials (especially for rate experiments)
If you want models of how top students describe methods, browse: Biology IA exemplars.
Step 4: Design your IA for reliability (repeats and range)
A 7-level IA makes reliability unavoidable.
Two rules help:
-
Range: choose at least 5 values of the independent variable that create a clear trend.
-
Repeats: aim for 3-5 trials per value (more if the system is noisy).
Think of repeats as the difference between “I saw something once” and “this pattern holds up.” That difference is what evaluation marks are often measuring.
Step 5: Match your equipment precision to the size of the effect
Precision is a quiet killer in the IA.
If your measuring tool can’t detect the change you’re trying to observe, your conclusion will feel like guesswork. Choose instruments that make sense:
-
Balance (±0.01 g) if mass changes are small
-
Volumetric pipette/burette for accurate volumes
-
Light meter if “light intensity” matters (otherwise distance is a proxy, not the variable)
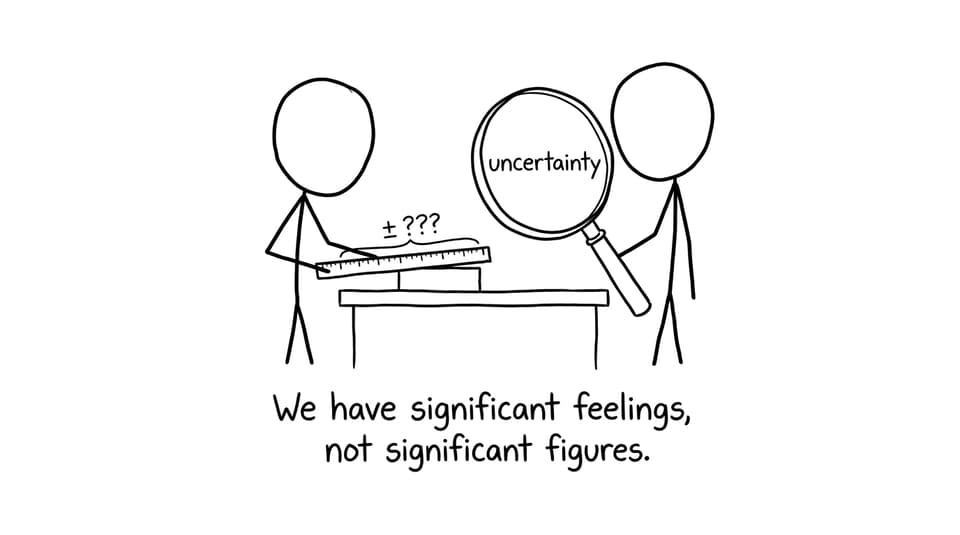
Record instrument uncertainties as you go, not later when you’re stressed.
Step 6: Run pilot trials to save your real IA
Pilot trials are where your IA earns maturity.
Use them to:
-
Confirm your range is sensible (not all identical results)
-
Find timing issues (reaction too fast, bubbles too slow, sensor lag)
-
Identify hidden control variables (room temperature drift, inconsistent stirring)
Then say in your report what you changed and why. Examiners don’t punish refinement. They reward scientific thinking.
Step 7: Standardize conditions so the story stays honest
In a science IA, “standardized” means you can defend your conclusion.
Good standardization looks like:
-
One variable changed at a time
-
Same container, same volume, same starting state
-
Randomization where relevant (trial order, sample order)
-
A clear rule for anomalies (not deleting points just because they’re ugly)
When students lose marks, it’s usually because conditions drift and they never acknowledge how that drift affects validity.
Step 8: Plan data tables, graphs, and statistics before you collect data
A strong IA collects data with processing in mind.
Before you start, decide:
-
What your raw table needs (units, uncertainties, repeats)
-
What processing you’ll do (means, standard deviation, percentage uncertainty)
-
What graph shows the relationship best (scatter with best-fit line, error bars)
-
What statistics are appropriate (correlation, t-test, chi-squared, etc.)
For a full breakdown, use: Using Statistical Analysis Effectively in an IB Science IA.

Step 9: Treat safety, ethics, and environment as part of design
A 7-level IA doesn’t bolt on a risk assessment at the end.
Write hazards and controls like a lab briefing:
-
Chemical risks (corrosive acids, fumes, disposal)
-
Heat and glassware risks (burns, breakage)
-
Ethical considerations (living organisms, human participants, consent)
-
Environmental impact (waste minimization, neutralization, proper disposal)
If you’re unsure about expectations and structure, start with: IB IA Guides.
Step 10: Avoid the three traps that quietly cap your IA
Most “almost 7” IA designs fall into one of these traps:
-
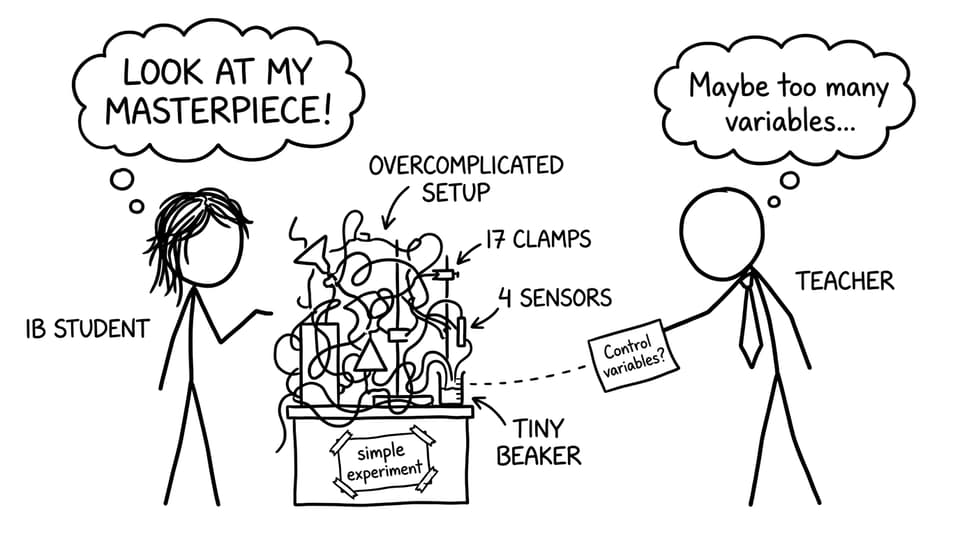
Complexity as a substitute for control: more sensors, more moving parts, more uncontrolled noise.
-
Thin data: too few values or too few repeats to justify analysis.
-
Evaluation with no teeth: writing “human error” instead of linking specific limitations to how they change your conclusion.
If you want feedback that targets these traps quickly, RevisionDojo’s grading workflow can help you see what the rubric is actually rewarding: IB IA Grading Service: Professional Assessment in Minutes.
How RevisionDojo helps you build a 7-level IA (and still prep for exams)
Your IA is important, but it sits inside a bigger season: IB exams.
RevisionDojo is built for that whole season. Students use the Coursework Library to study strong exemplars, AI Chat to troubleshoot concepts and method logic, and Grading tools to pressure-test drafts against criteria. Then, when it’s time to switch back to exams, they stay in the same ecosystem with Study Notes, Flashcards, and the Questionbank for targeted practice, plus Mock Exams and Predicted Papers to rehearse timing and technique.
If you want to explore more IA guidance in one place, start here: All IA posts.
Closing: Design your IA like you want to trust yourself
A 7-scoring IA experiment is rarely the most complicated idea in the room. It’s the most defensible.
If you can explain why your variables are controlled, why your repeats are enough, why your tools are precise enough, and how your limitations shape your conclusion, you’ve built the kind of experiment an examiner can trust.
When you’re ready to tighten your plan, compare to real exemplars, and get rubric-aligned feedback while still keeping exam prep moving, make RevisionDojo your base: Questionbank, Study Notes, Flashcards, AI Chat, Grading tools, Predicted Papers, Mock Exams, Coursework Library, and Tutors, all in one place.